“`html
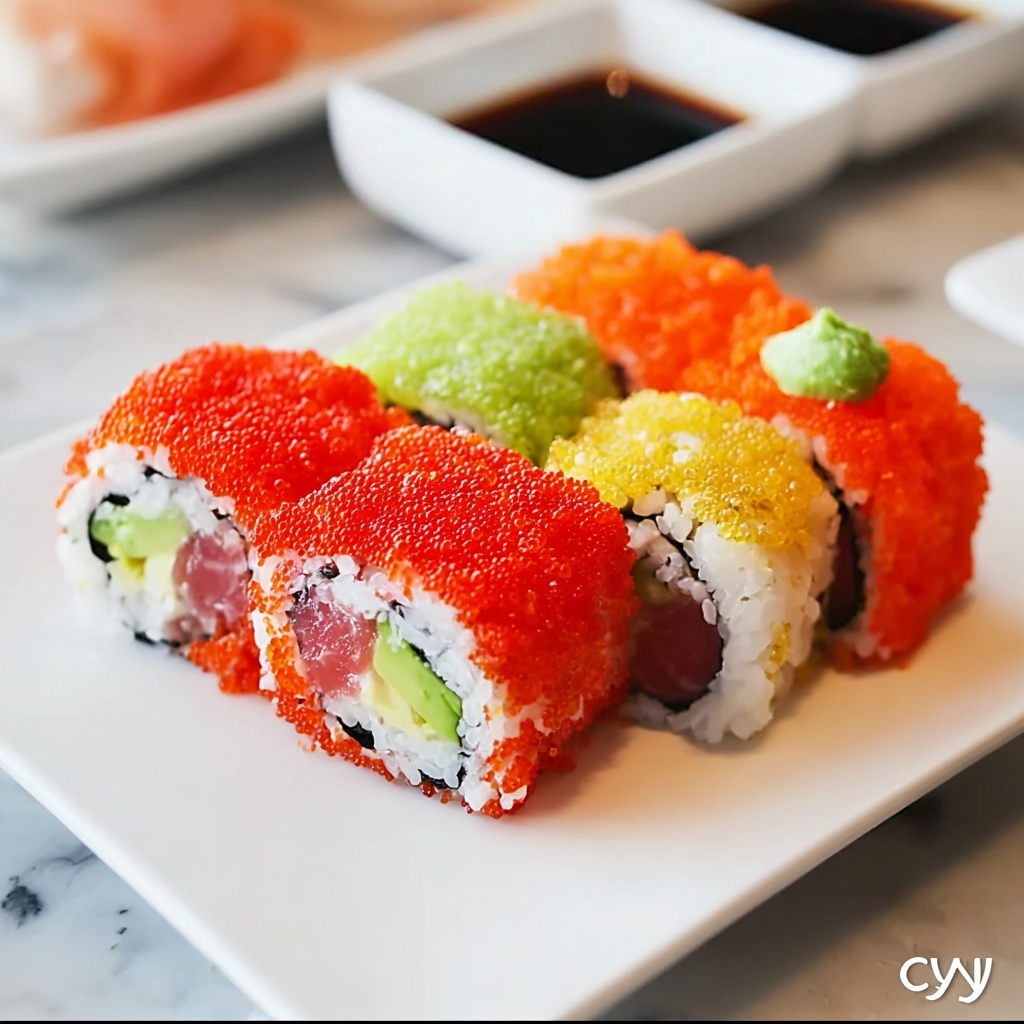
If you have ever dreamed of bringing the vibrant, delicious world of sushi right into your own kitchen, the Master Homemade Japanese Sushi Rolls for Ultimate Flavor Fun Recipe is your golden ticket. This recipe unlocks the magic of perfectly sticky sushi rice, fresh, crunchy vegetables, and rich, savory fish or chicken filling, all wrapped in crisp nori sheets. Whether you’re a sushi novice or a home chef looking to impress, these rolls combine texture, color, and flavor in every bite, making your sushi night an unforgettable experience.
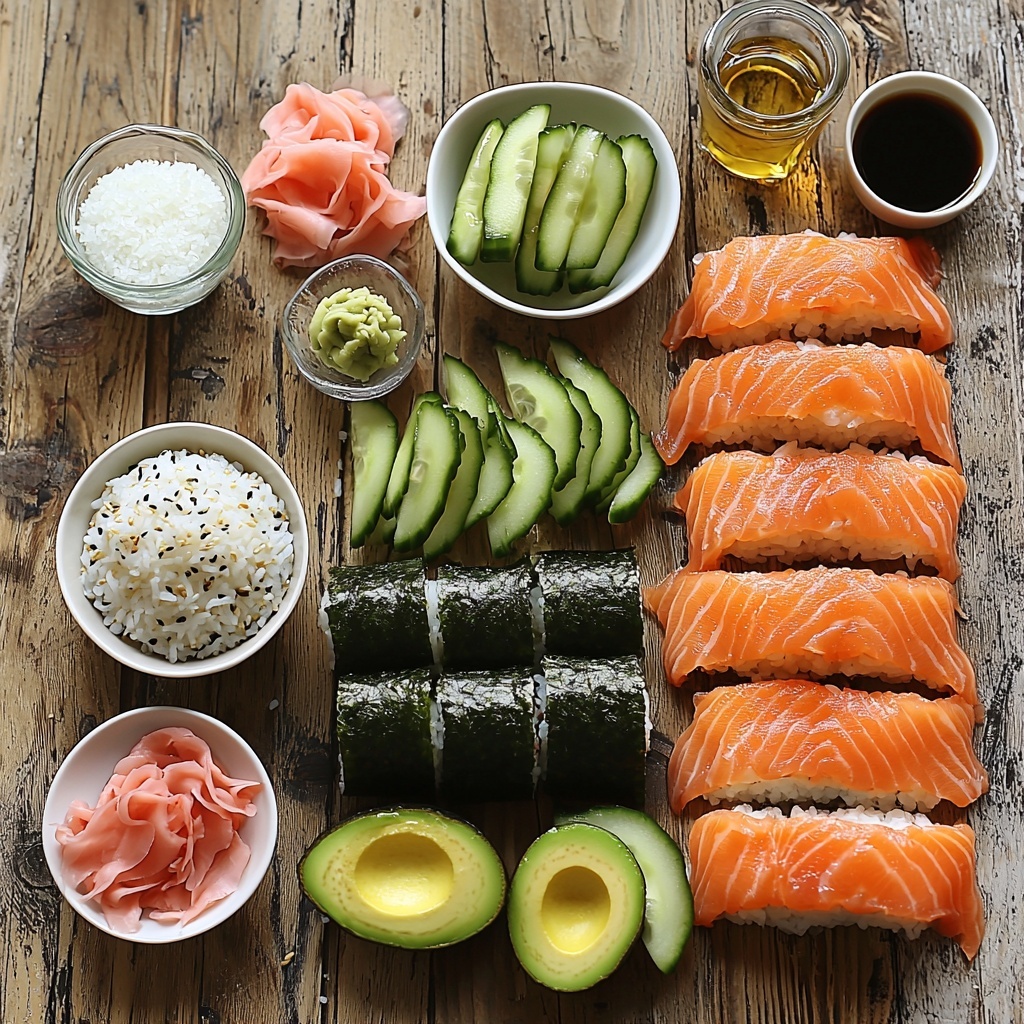
Ingredients You’ll Need
Getting ready to roll sushi at home is surprisingly simple, and the ingredients here are essentials that each play their own role to create a harmonious balance. From the sticky rice that holds everything together, to the fresh vegetables and savory proteins, every item is a star in its own right.
- 2 cups sushi rice: Choose short-grain varieties for that perfectly sticky texture essential to sushi.
- 1/4 cup rice vinegar: This adds a delightful tang that brightens the sushi rice flavor.
- 1 teaspoon salt: Balances the tanginess and enhances the overall taste of the rice.
- 4 sheets seaweed sheets (nori): These provide the classic sushi roll’s outer crisp layer with a subtle ocean essence.
- 1 medium cucumber: For a refreshing crunch and a splash of vibrant green color.
- 1 medium avocado: Adds a luscious creaminess that melts in your mouth.
- 1 cup cooked chicken (optional): Marinated for extra flavor, it’s an excellent protein alternative to fish.
- 8 oz fresh fish (salmon or tuna): The savory heart of traditional sushi rolls, offering depth and umami.
- 1/4 cup soy sauce (optional): A savory dip; consider low-sodium options to keep the flavors balanced.
- 1 jar pickled ginger: Perfect for cleansing the palate between bites and adding a hint of sweetness.
- 1 tablespoon wasabi (optional): For those who love a little spicy kick to complement the flavors.
How to Make Master Homemade Japanese Sushi Rolls for Ultimate Flavor Fun Recipe
Step 1: Prepare the Perfect Sushi Rice
Start by rinsing the sushi rice thoroughly under cold water until the water runs clear, removing excess starch to avoid gummy results. Then, cook the rice following your preferred method, typically about 20 minutes until tender and sticky. While the rice is still warm, gently fold in the rice vinegar and salt – this seasoning is essential as it transforms plain rice into the flavorful base that defines sushi.
Step 2: Get Your Rolling Station Ready
Lay a sheet of nori flat on a bamboo sushi rolling mat or any clean, flat surface with the shiny side facing down. This shiny side will eventually become the outside of your roll, creating that glossy finish that looks so professional.
Step 3: Spread the Rice Evenly
Using wet fingers or a rice paddle, spread an even layer of your seasoned sushi rice over the nori. Be sure to leave about a 1-inch margin along one edge to help seal the roll later. The rice layer should be thin but completely cover the nori to create that beautiful contrast between rice and seaweed.
Step 4: Add Your Delicious Fillings
Place your sliced cucumber, avocado, and choice of either cooked chicken or fresh fish in a neat line across the middle of the rice. This filling core is where the excitement happens, balancing fresh crunch, creamy texture, and savory depth.
Step 5: Roll It Up Tightly
Using the sushi mat, begin rolling the nori away from you, applying gentle pressure to keep the roll compact and the filling snug inside. When you reach the exposed edge of the nori, dampen it with a little water to seal the roll so it holds its shape perfectly.
Step 6: Slice and Serve
Clean your sharp knife with a damp cloth before slicing the roll into bite-sized pieces. This keeps the cuts clean and prevents the rice from sticking. Arrange the pieces on a platter and get ready to impress with your homemade sushi.
How to Serve Master Homemade Japanese Sushi Rolls for Ultimate Flavor Fun Recipe
Garnishes
Fresh garnishes like a sprinkle of toasted sesame seeds or finely sliced green onions add visual appeal and subtle texture contrasts. Don’t forget a small mound of pickled ginger and a dab of wasabi on the side to invite that authentic sushi experience.
Side Dishes
Complement your rolls with simple side dishes such as a light seaweed salad, miso soup, or edamame. These not only round out the meal nutritionally but also keep the theme fresh and balanced.
Creative Ways to Present
Serving your sushi on a bamboo platter or a sleek white plate makes those colorful ingredients pop. For a fun twist, try making sushi cones (temaki) or offer build-your-own sushi roll platters for interactive dining that’s perfect for gatherings.
Make Ahead and Storage
Storing Leftovers
If you have leftovers, store the sushi rolls tightly wrapped in plastic wrap in the refrigerator and consume within 3-4 days to retain freshness and flavor. Avoid leaving sushi at room temperature for extended periods to maintain quality and food safety.
Freezing
Freezing sushi rolls is generally not recommended as it can affect the texture of the rice and fillings, especially fresh fish and avocado. For best results, enjoy your sushi freshly made or refrigerated within the suggested time frame.
Reheating
Sushi rolls are best enjoyed cold or at room temperature. If you prefer warmed chicken sushi rolls, gently warm the filling separately and add to fresh rice and nori to avoid sogginess. Avoid microwaving whole rolls as this alters texture and taste.
FAQs
Can I use any type of rice for sushi rolls?
Sushi rice is best made with short-grain rice because of its sticky texture when cooked. Long-grain rice doesn’t stick well enough to hold the roll together, so it’s best to stick with the recommended variety for perfect results.
Do I have to use raw fish in this recipe?
Not at all! You can absolutely use cooked chicken or other cooked proteins if raw fish isn’t your preference. Marinating the chicken adds extra flavor and keeps the rolls exciting and tasty.
How do I prevent the rice from sticking to my hands?
Wet your hands with a little water or rice vinegar before handling the rice. This simple trick keeps the rice from sticking and makes spreading it onto the nori much easier.
What’s the best way to slice the sushi rolls?
Using a very sharp knife dipped in water between slices helps create clean cuts and prevents the rice from sticking to the blade, creating beautifully shaped sushi pieces.
Can I prepare the rice ahead of time?
Yes! You can cook and season the sushi rice a few hours in advance. Just cover it with a damp cloth to prevent drying out, and keep it at room temperature until you’re ready to assemble your rolls.
Final Thoughts
There is something truly magical about rolling your own sushi at home, and the Master Homemade Japanese Sushi Rolls for Ultimate Flavor Fun Recipe makes it accessible and fun for anyone to try. The blend of flavors and textures in these sushi rolls makes every bite a celebration. So grab your bamboo mat, gather your ingredients, and dive into an exciting DIY culinary adventure that will wow your friends and family alike!
“`
Print
Master Homemade Japanese Sushi Rolls for Ultimate Flavor Fun Recipe
- Prep Time: 20 minutes
- Cook Time: 20 minutes
- Total Time: 1 hour
- Yield: 4 servings
- Category: Main Course
- Method: Stovetop
- Cuisine: Japanese
Description
Learn to master homemade Japanese sushi rolls with this step-by-step guide that ensures ultimate flavor and fun. From perfectly cooked sticky sushi rice to fresh fillings like avocado, cucumber, and your choice of fish or chicken, this recipe covers everything you need for delightful sushi rolls served with classic condiments.
Ingredients
Sushi Rice
- 2 cups sushi rice (short-grain rice that becomes sticky when cooked)
- 1/4 cup rice vinegar (adds a tangy flavor)
- 1 teaspoon salt (balances the flavor)
Seaweed and Fillings
- 4 sheets seaweed sheets (nori) (provides the outer layer)
- 1 medium cucumber (adds a refreshing crunch)
- 1 medium avocado (adds a creamy texture)
- 1 cup cooked chicken (optional, marinate for extra flavor)
- 8 oz fresh fish (salmon or tuna) (for savory depth)
Condiments
- 1/4 cup soy sauce (optional, consider low-sodium)
- 1 jar pickled ginger (cleanses the palate)
- 1 tablespoon wasabi (optional, for those who like heat)
Instructions
- Rice Preparation: Rinse sushi rice under cold water until the water runs clear, approximately 2-3 minutes to remove excess starch. Cook the rice according to your preferred method, typically about 20 minutes, until tender and sticky. While still warm, fold in rice vinegar and salt carefully to season the rice evenly.
- Preparing the Nori and Filling: Lay a sheet of seaweed (nori) on a bamboo sushi rolling mat or a flat surface with the shiny side facing down. Spread an even layer of the seasoned sushi rice over the nori, leaving about a 1-inch margin at the top edge to seal the roll later.
- Adding Fillings: Arrange your favorite fillings, such as cucumber slices, avocado, cooked chicken or fresh salmon/tuna, in a straight line across the rice near the bottom edge of the nori sheet.
- Rolling the Sushi: Starting from the edge closest to you, roll the sushi tightly away from you, using the bamboo mat to help shape and compact the roll while maintaining even pressure to keep the fillings inside.
- Sealing and Slicing: Moisten the top margin of the nori with a little water to seal the roll securely. Use a sharp knife to slice the sushi roll into bite-sized pieces, wiping the knife clean between cuts to maintain clean edges.
- Serving: Arrange the sliced sushi rolls on a platter and serve with soy sauce, pickled ginger, and wasabi on the side for dipping and added flavor.
Notes
- Use short-grain sushi rice for authentic texture and stickiness.
- If using raw fish, ensure it is sushi-grade for safety.
- Soaking the knife in water before slicing helps prevent rice sticking to the blade.
- Marinate cooked chicken in soy sauce and sesame oil for extra flavor if desired.
- Customize fillings according to dietary preferences and seasonal availability.
- Store leftover sushi rolls wrapped tightly in plastic wrap and consume within 24 hours.


