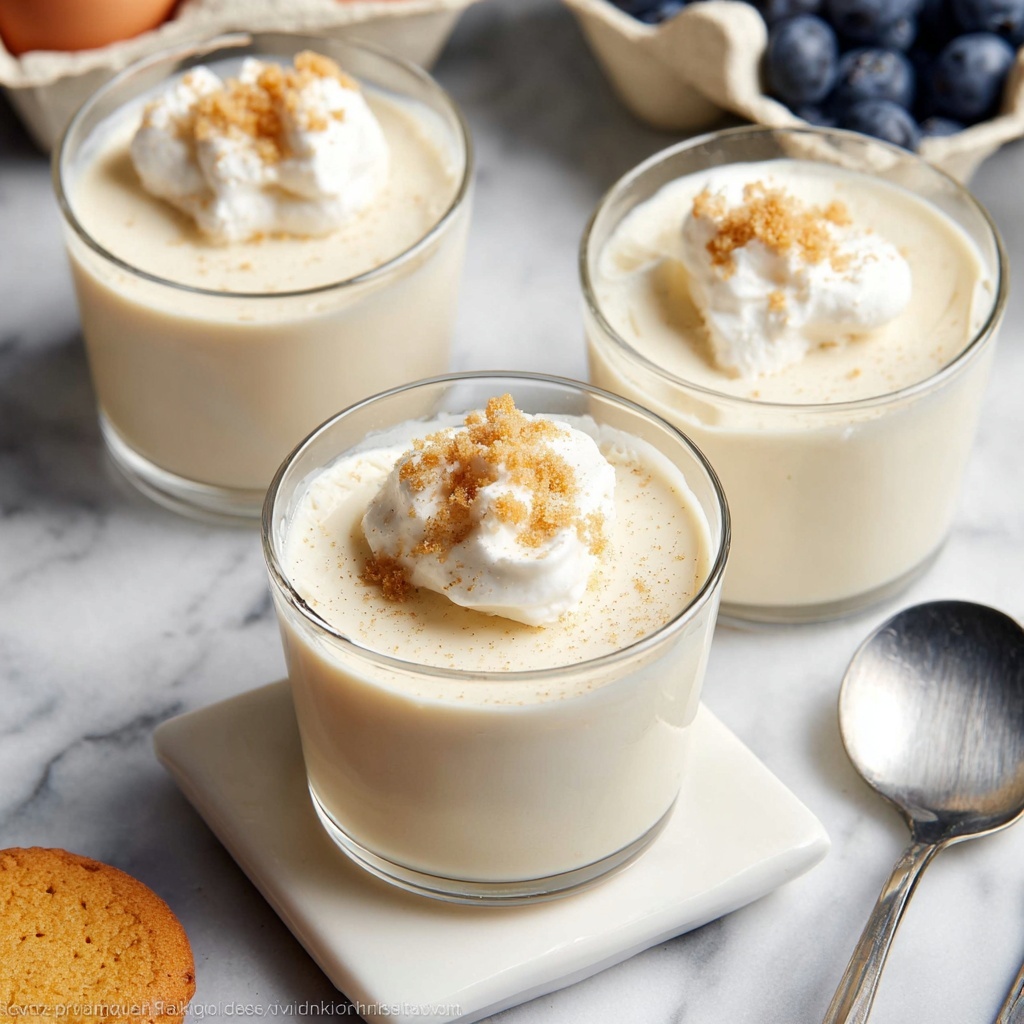
If you have a sweet tooth or simply love the comforting taste of homemade desserts, this Classic Vanilla Pudding Recipe is a must-try treasure. Silky, creamy, and boasting a rich vanilla flavor, it strikes the perfect balance between indulgence and simplicity. Whether it’s a quick snack or a charming finale to your dinner, this pudding recipe brings back the nostalgic warmth of a timeless dessert that everyone adores.
Ingredients You’ll Need
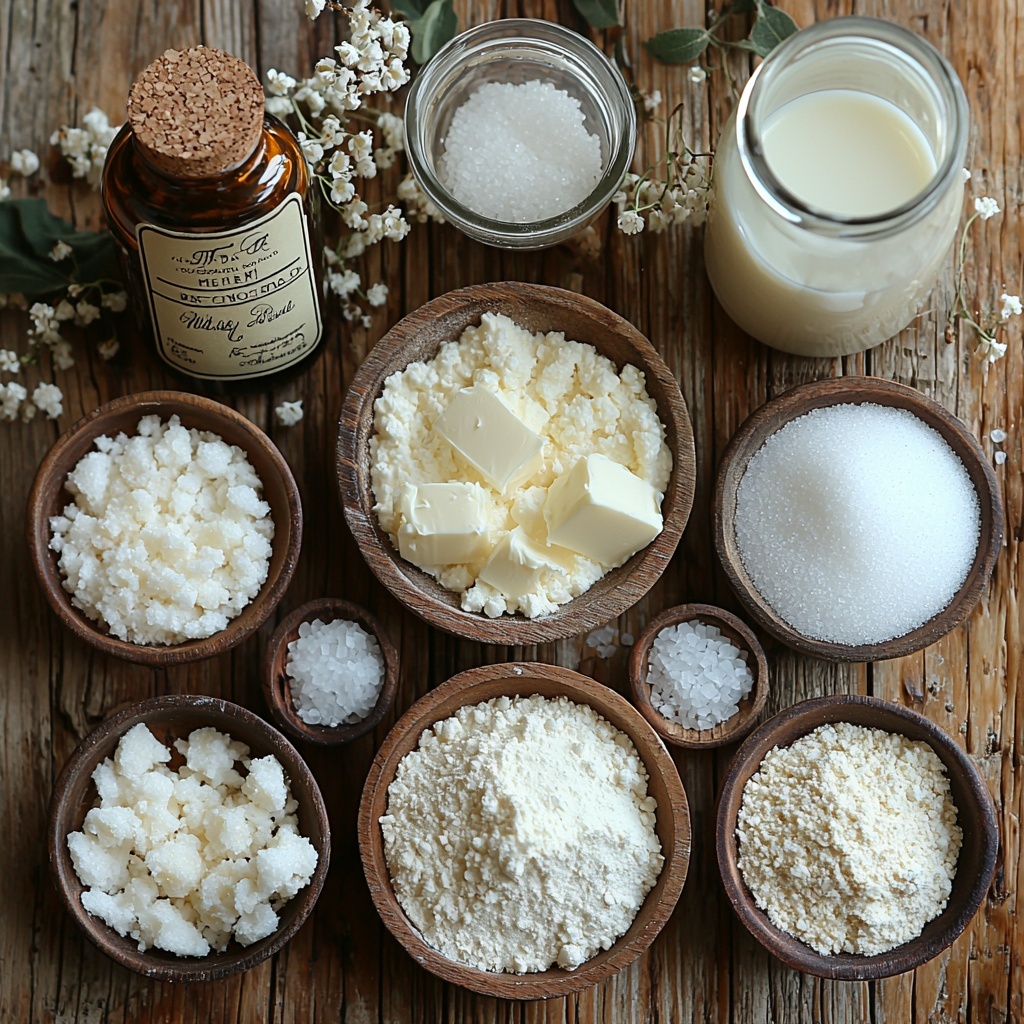
These ingredients are refreshingly simple yet essential for creating the perfect texture, sweetness, and that unmistakable vanilla aroma you crave. Each component plays its part in turning everyday pantry staples into something extraordinary.
- Cornstarch: Acts as the thickening agent, giving the pudding its luxurious, silky consistency.
- Sugar: Sweetens the pudding just right, balancing the vanilla’s richness.
- Salt: A pinch enhances the overall flavor and intensifies the sweetness.
- Milk: The creamy base that provides body and smoothness to the pudding.
- Butter: Adds a subtle richness and velvety finish that’s utterly irresistible.
- Vanilla extract: The star of the show, infusing warm, aromatic notes that define this Classic Vanilla Pudding Recipe.
How to Make Classic Vanilla Pudding Recipe
Step 1: Combine Dry Ingredients and Milk
Start your pudding adventure by whisking together the cornstarch, sugar, and salt in a medium saucepan. Slowly add the milk, whisking continuously to ensure a smooth mixture with no lumps. This careful blending sets the foundation for a creamy texture that will soon develop.
Step 2: Cook Until Thickened
Place the saucepan over medium heat and keep whisking steadily as the mixture warms. Patience is key here, as it takes about 10 minutes for the pudding to come to a gentle boil and thicken beautifully. Once boiling, let it cook and whisk for another full minute to ensure the perfect pudding consistency.
Step 3: Finish with Butter and Vanilla
Remove your pudding from the heat and quickly stir in the butter and vanilla extract. These final touches enrich the flavor and add a silky sheen, making your Classic Vanilla Pudding Recipe truly shine. Allow it to cool slightly before serving or chilling.
How to Serve Classic Vanilla Pudding Recipe
Garnishes
Elevate your pudding with simple yet delightful garnishes like a sprinkle of cinnamon, a handful of fresh berries, or a dollop of whipped cream. These additions enhance both the look and flavor, making every spoonful a joy to savor.
Side Dishes
Pair this vanilla pudding with light cookies, biscotti, or shortbread to add a satisfying crunch. It also beautifully complements a fresh fruit salad or a crisp spiced apple compote for a well-rounded dessert experience.
Creative Ways to Present
Serve your Classic Vanilla Pudding Recipe in elegant glass jars or vintage teacups for a charming touch. Layer it with crushed cookies and fruit for an impressive parfait, or pipe it into small tart shells for bite-sized treats sure to impress your guests.
Make Ahead and Storage
Storing Leftovers
Place leftover pudding in an airtight container and store it in the refrigerator for up to 3 days. This allows the pudding to maintain its creamy texture and fresh vanilla flavor without drying out.
Freezing
While this pudding is best enjoyed fresh or chilled, it can be frozen in small portions for up to a month. Thaw in the fridge overnight and stir gently before serving to restore its smooth texture.
Reheating
To warm your pudding, gently heat it in a saucepan over low heat, stirring frequently to prevent scorching. You may add a splash of milk to loosen the texture if needed, ensuring it remains as luscious as when it was first made.
FAQs
Can I use a different type of milk for this pudding?
Absolutely! Whole milk gives the creamiest result, but you can use 2% or even plant-based milk like almond or oat milk. Just note that some alternatives may affect the thickness and flavor slightly.
Is cornstarch the only thickener I can use?
Cornstarch is preferred for its smooth texture, but arrowroot or tapioca starch can be substituted in equal amounts if you want a slight variation in consistency.
How long should I cook the pudding to avoid lumps?
Continuous whisking during the cooking process prevents lumps from forming. Cooking until the mixture boils and thickens, usually about 10 minutes, is perfect for achieving a silky pudding.
Can I make this Classic Vanilla Pudding Recipe vegan?
Yes! Swap out the milk for a plant-based alternative and use a vegan butter substitute. Just make sure your vanilla extract is vegan-friendly as well.
What’s the best way to chill the pudding?
Transfer the pudding to a bowl or jars, cover with plastic wrap touching the surface to prevent a skin from forming, and refrigerate for at least two hours before serving.
Final Thoughts
This Classic Vanilla Pudding Recipe is a comforting, versatile dessert that’s both easy to make and incredibly satisfying. I encourage you to give it a try — once you taste that creamy, vanilla-kissed goodness, it might just become your go-to sweet treat for every occasion.
Print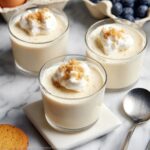
Classic Vanilla Pudding Recipe
- Prep Time: 5 minutes
- Cook Time: 11 minutes
- Total Time: 16 minutes
- Yield: 6 servings
- Category: Dessert
- Method: Stovetop
- Cuisine: American
Description
A classic homemade vanilla pudding recipe that is smooth, creamy, and perfectly sweetened. This easy-to-make dessert uses simple ingredients such as cornstarch, sugar, milk, butter, and vanilla extract, coming together in just a few minutes on the stovetop. Perfect for a comforting treat or a base for layered desserts.
Ingredients
Ingredients
- ⅓ cup cornstarch
- ⅓ cup sugar
- ⅛ teaspoon salt
- 3 cups milk
- 1 tablespoon butter
- 1 ½ teaspoons vanilla extract
Instructions
- Combine dry ingredients and milk. In a medium saucepan, mix together the cornstarch, sugar, and salt. Gradually whisk in the milk to create a smooth mixture free of lumps.
- Cook and thicken the pudding. Place the saucepan over medium heat and continually whisk the mixture as it heats. Continue whisking until the pudding comes to a boil and thickens, which should take about 10 minutes. Keep whisking and let it boil for an additional 1 minute to ensure the pudding is fully cooked and smooth.
- Add butter and vanilla. Remove the saucepan from heat. Stir in the butter and vanilla extract until fully combined and smooth. This adds richness and enhances the vanilla flavor.
Notes
- Whisk constantly to prevent lumps and avoid the pudding sticking to the pan.
- For a richer pudding, use whole milk or add a splash of cream.
- Serve warm or chilled; cover the surface with plastic wrap to prevent a skin from forming when cooling.
- Use a fine mesh sieve if you want an extra smooth texture by straining the pudding before adding butter and vanilla.
- Store leftovers covered in the refrigerator for up to 3 days.


