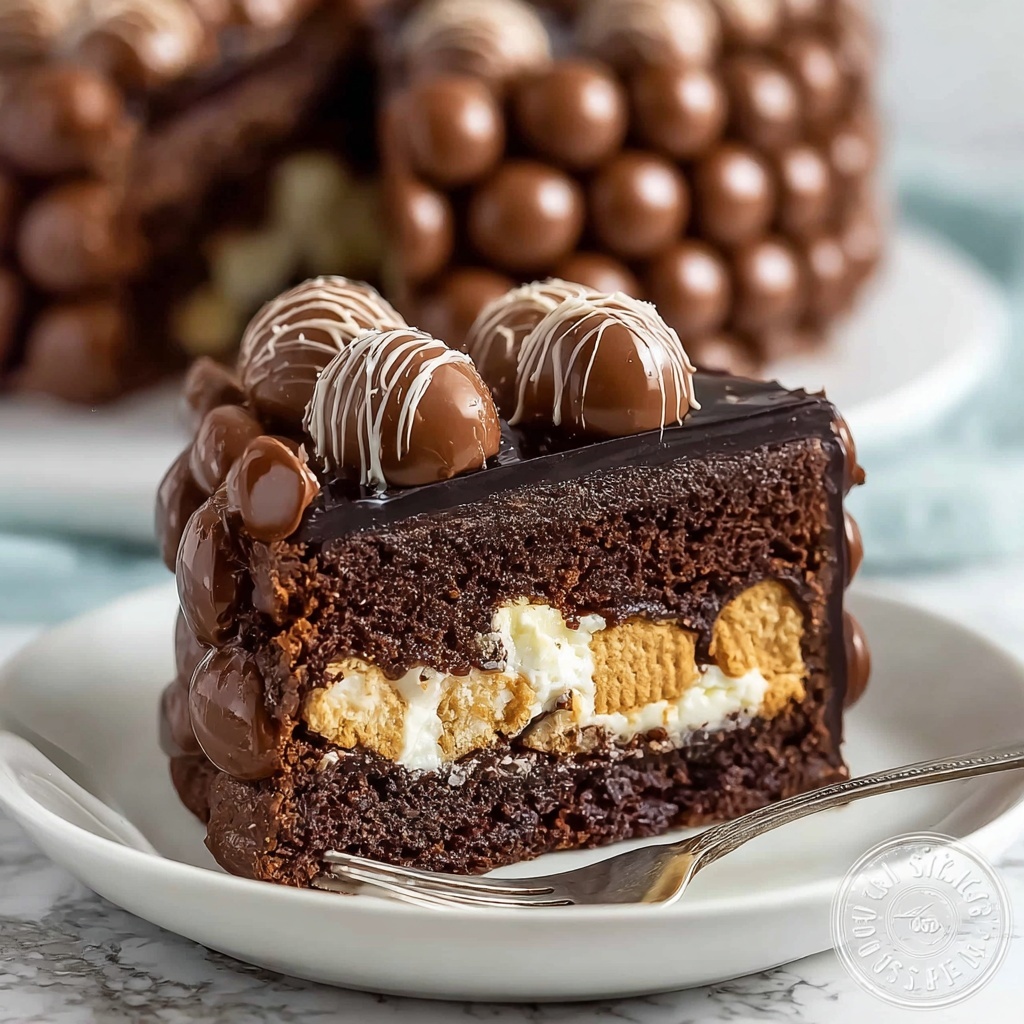
If your sweet tooth is calling and you want something absolutely irresistible without turning on the oven, this Chocolate Biscuit Refrigerator Cake: A No-Bake Delight Recipe is going to become your new best friend. Imagine rich layers of chocolate melting into crunchy biscuits, all set perfectly in the fridge to give you a creamy, decadent dessert that’s as easy to make as it is to enjoy. It’s a slice of joy that brings the perfect balance of textures and flavors, ideal for those moments when you crave something indulgent but simple. Trust me, once you dive into this no-bake wonder, you’ll be hooked!
Ingredients You’ll Need
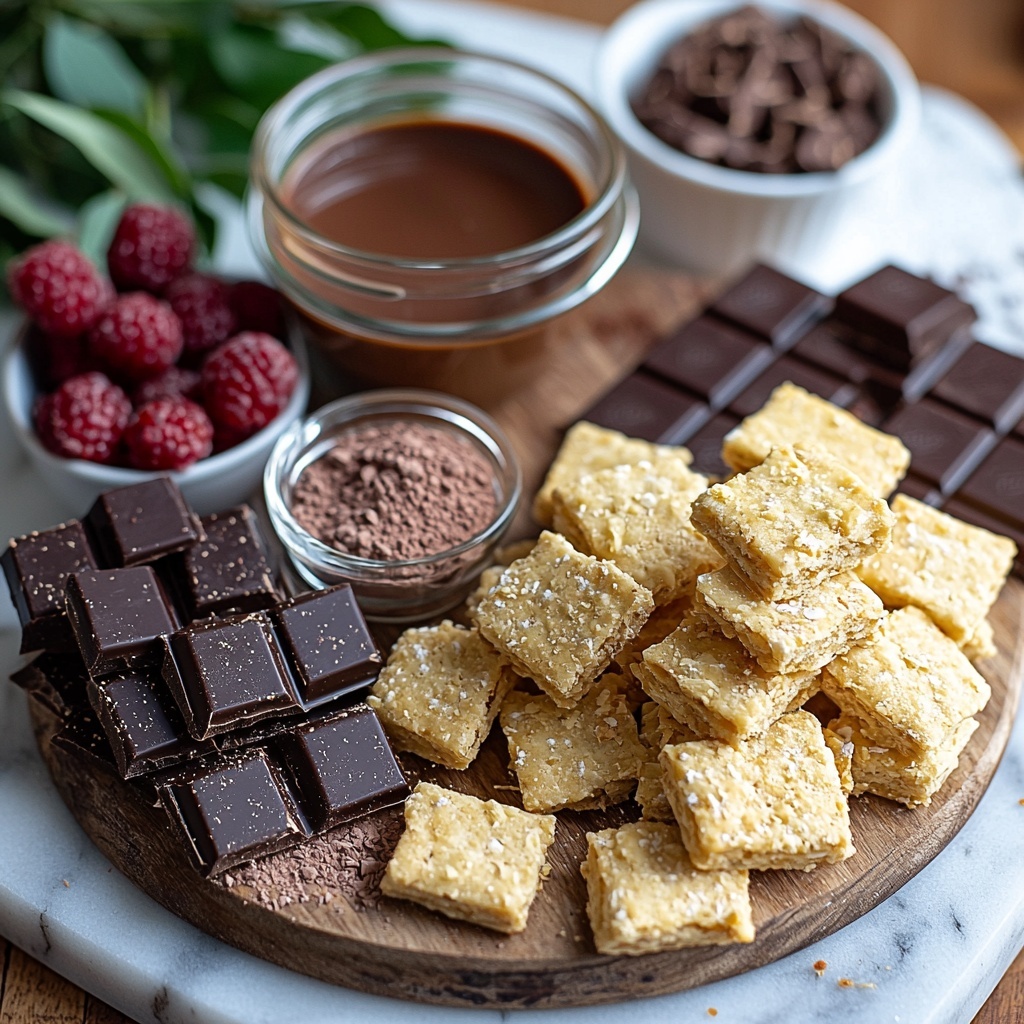
The magic behind this recipe lies in the basics — simple ingredients that come together in such a special way. Each component plays a part: the biscuits add crunch and body, the chocolates blend richness and depth, and the cream and sugar bring smooth sweetness and balance. This is a dessert you can feel good about making because the elements are straightforward, but the result is anything but ordinary.
- 400g digestive biscuits or tea biscuits: These provide the essential crunch and a mild sweetness that complements the chocolate perfectly.
- 200g unsalted butter (melted): Helps bind the biscuits and adds a delicious creamy richness to your cake base.
- 200g dark chocolate (chopped): Offers intense cocoa flavor, making the cake wonderfully decadent.
- 100g milk chocolate (chopped): Adds a sweeter, softer chocolate dimension that balances the dark chocolate’s boldness.
- 1 cup heavy cream: Creates a silky texture that melts in your mouth with every bite.
- 1/2 cup powdered sugar: Sweetens the cream gently without any graininess.
- 1 teaspoon vanilla extract: A subtle aromatic touch that elevates every flavor in the cake.
- Chocolate shavings or grated chocolate: For an alluring, glossy finish on top.
- Chopped nuts (optional): Adds a lovely crunch and nutty flavor if you want a bit of extra texture.
- Fresh berries (optional): A pop of color and refreshing contrast to the rich chocolate.
How to Make Chocolate Biscuit Refrigerator Cake: A No-Bake Delight Recipe
Step 1: Prepare the Biscuit Base
Start by breaking your digestive biscuits into roughly bite-sized pieces, careful not to crush them completely – you want that satisfying crunch in every slice. Then, pour your melted butter over the biscuits in a large bowl, stirring gently until every piece is coated. This buttery touch holds the biscuit bits together and gives the base a luscious, melt-in-your-mouth quality once set.
Step 2: Melt the Chocolates
Next, melt both the dark and milk chocolate together in a heatproof bowl over simmering water or in short bursts in the microwave, stirring frequently. This smooth melted chocolate combo is the heart of your cake, marrying the bittersweet depth of dark chocolate with the milky sweet softness of the milk variety. Let it cool slightly so it doesn’t cook the cream in the next step.
Step 3: Whip the Cream to Perfection
Whip the heavy cream with powdered sugar and vanilla extract until soft peaks form. This creamy cloud lends the cake a silky, dreamy texture that lightens the richness of the chocolate, making each bite perfectly balanced and utterly irresistible.
Step 4: Combine and Layer
Fold the cooled melted chocolate gently into the whipped cream mixture until fully combined and glossy. Then, add the biscuit and butter mixture and stir just enough to coat all the pieces with luscious chocolate cream. Pour everything into a lined loaf tin or a cake pan, pressing down gently to create an even layer — this will set up into a perfectly firm, sliceable cake once chilled.
Step 5: Chill and Set
Place the cake in the refrigerator for at least 4 hours, though overnight is best. This chilling step allows the chocolate to firm up and the flavors to meld beautifully. Patience here is rewarded with a dessert that holds its shape and tempts with every bite.
How to Serve Chocolate Biscuit Refrigerator Cake: A No-Bake Delight Recipe
Garnishes
A simple sprinkle of chocolate shavings or grated chocolate on top adds elegant texture and visual appeal. For an extra touch, scatter some chopped nuts or fresh berries — their vibrant color and contrasting bite create a stunning presentation that’s as delightful to the eyes as to the palate.
Side Dishes
This cake pairs perfectly with a dollop of whipped cream or a scoop of vanilla ice cream to complement its richness. A cup of hot coffee or bold black tea also works wonders alongside the chocolate’s deep flavors, making your dessert experience even more comforting and cozy.
Creative Ways to Present
Try serving individual slices with a drizzle of caramel or raspberry sauce for an elevated touch. For parties, cut into bite-sized squares and place on tiered trays for easy sharing. You can also layer it in clear glass jars for eye-catching, rustic dessert jars that invite curiosity and indulgence.
Make Ahead and Storage
Storing Leftovers
Keep any leftover cake covered tightly with plastic wrap or in an airtight container in the fridge for up to 5 days. This cake holds up beautifully and actually tastes even better after a day as the flavors continue to meld.
Freezing
You can freeze slices individually wrapped in parchment and then foil for up to 2 months. Thaw in the refrigerator overnight to enjoy the same creamy texture, perfect for prepping desserts ahead of time for unexpected guests.
Reheating
This no-bake cake is best enjoyed cold or at room temperature. Avoid reheating since the texture and creaminess might suffer. If you prefer, let slices sit out for 15 minutes before serving to soften slightly for easier slicing and a more luscious mouthfeel.
FAQs
Can I use different types of biscuits?
Absolutely! While digestive or tea biscuits are traditional for their mild flavor and perfect crunch, you can swap in gluten-free biscuits if needed or even graham crackers for a slightly different taste profile. Just make sure the biscuits aren’t too sweet to keep the chocolate flavor balanced.
Is it possible to make this cake vegan or dairy-free?
Yes, you can replace the butter with coconut oil and choose dairy-free chocolate and coconut cream to whip instead of heavy cream. The final texture may vary slightly, but it still results in a delicious, indulgent cake.
How long does the cake need to chill?
While a minimum of 4 hours works, chilling overnight ensures the best texture and allows the chocolate and biscuits to set perfectly. If you’re in a rush, 2-3 hours might suffice, but expect a softer cake.
Can I add flavors like coffee or spices?
Definitely! Adding a tablespoon of espresso powder to the chocolate before melting or a pinch of cinnamon in the cream can add lovely complexity. Feel free to experiment with your favorite flavors to make it uniquely yours.
What’s the best way to cut the cake?
Use a sharp knife warmed slightly under hot water and wiped dry before slicing. This helps the knife glide through the chocolate cream layers without squashing the cake, giving you neat, beautiful slices every time.
Final Thoughts
I can’t recommend this Chocolate Biscuit Refrigerator Cake: A No-Bake Delight Recipe enough to anyone who loves chocolate and wants a hassle-free, show-stopping dessert. It’s quick to whip up, needs no oven time, and delivers decadent satisfaction in every bite. Give this recipe a try and watch how it quickly becomes a staple in your dessert lineup — friends and family will be asking for seconds before you know it!
Print
Delicious Recipe
- Prep Time: 20 minutes
- Cook Time: 10 minutes
- Total Time: 4 hours 30 minutes
- Yield: 8 servings
- Category: Dessert
- Method: No-Cook
- Cuisine: International
- Diet: Vegetarian
Description
This Chocolate Biscuit Refrigerator Cake is a decadent no-bake dessert that’s easy to prepare and perfect for chocolate lovers. Using simple ingredients like digestive biscuits, melted butter, and a rich blend of dark and milk chocolate combined with creamy whipped cream, this cake sets beautifully in the fridge and can be decorated with chocolate shavings, nuts, or fresh berries for an elegant finish.
Ingredients
For the Cake:
- 400g digestive biscuits or tea biscuits
- 200g unsalted butter (melted)
- 200g dark chocolate (chopped)
- 100g milk chocolate (chopped)
- 1 cup heavy cream
- 1/2 cup powdered sugar
- 1 teaspoon vanilla extract
For Decoration:
- Chocolate shavings or grated chocolate
- Chopped nuts (optional)
- Fresh berries (optional)
Substitutions:
- Biscuits: Use gluten-free biscuits for a gluten-free option.
- Butter: Coconut oil can be used as a dairy-free alternative.
- Chocolate: Use semi-sweet or white chocolate to vary the flavor.
Instructions
- Prepare Biscuits: Break the digestive biscuits into small bite-sized pieces and set aside in a large mixing bowl.
- Melt Butter and Chocolate: In a heatproof bowl, melt the unsalted butter combined with the chopped dark and milk chocolate over a double boiler or in short bursts in the microwave, stirring frequently until smooth and combined.
- Whip Cream Mixture: In a separate bowl, whip the heavy cream with powdered sugar and vanilla extract until soft peaks form.
- Combine Ingredients: Pour the cooled melted chocolate and butter mixture into the biscuit pieces, stirring gently to coat all the biscuits evenly.
- Fold in Whipped Cream: Gently fold the whipped cream mixture into the chocolate-coated biscuits until just combined, ensuring not to deflate the cream.
- Set in Mold: Transfer the mixture into a lined loaf pan or springform pan, pressing down gently to remove air pockets and create an even surface.
- Chill: Cover the pan with plastic wrap and refrigerate for at least 4 hours or overnight until the cake is firm and set.
- Decorate and Serve: Once set, remove the cake from the pan and garnish with chocolate shavings, chopped nuts, or fresh berries as desired. Slice and serve chilled.
Notes
- For a gluten-free version, substitute the biscuits with gluten-free alternatives.
- To make dairy-free, replace butter with coconut oil and use dairy-free chocolate and cream.
- Semi-sweet or white chocolate can be used instead of dark or milk chocolate for varying flavor profiles.
- Ensure the melted chocolate mixture isn’t too hot when folding with whipped cream to avoid curdling.
- This cake keeps well in the fridge for up to 3 days, making it perfect for make-ahead dessert.


