“`html
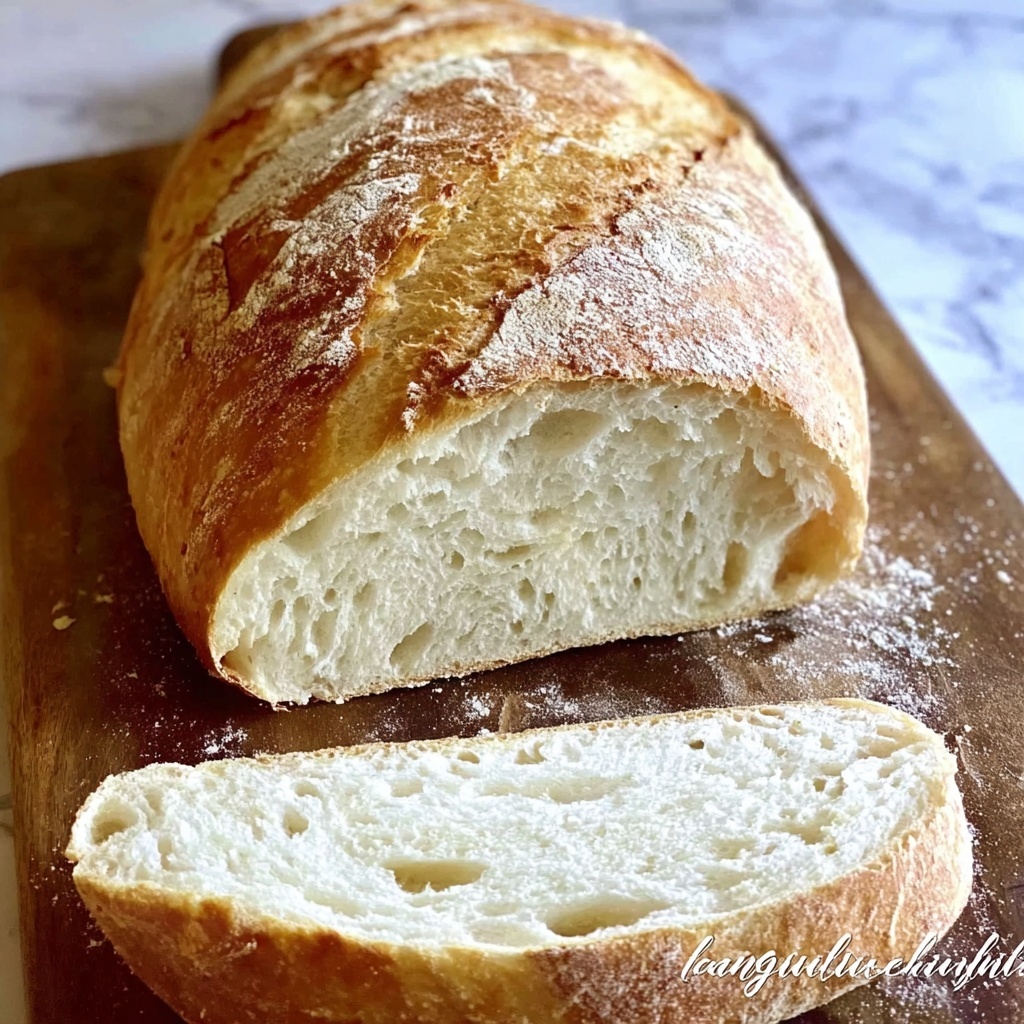
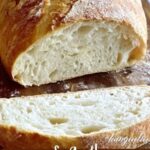
If there’s one thing that never fails to warm both the heart and the home, it’s a freshly baked loaf made from scratch. This Homemade Bread Recipe is a comforting, timeless delight that transforms simple pantry staples into a golden, crusty masterpiece with a soft, tender crumb inside. Whether you’re a seasoned baker or just starting out, this recipe will guide you through each step with loving care, making the entire process feel like a cozy kitchen ritual worth savoring.
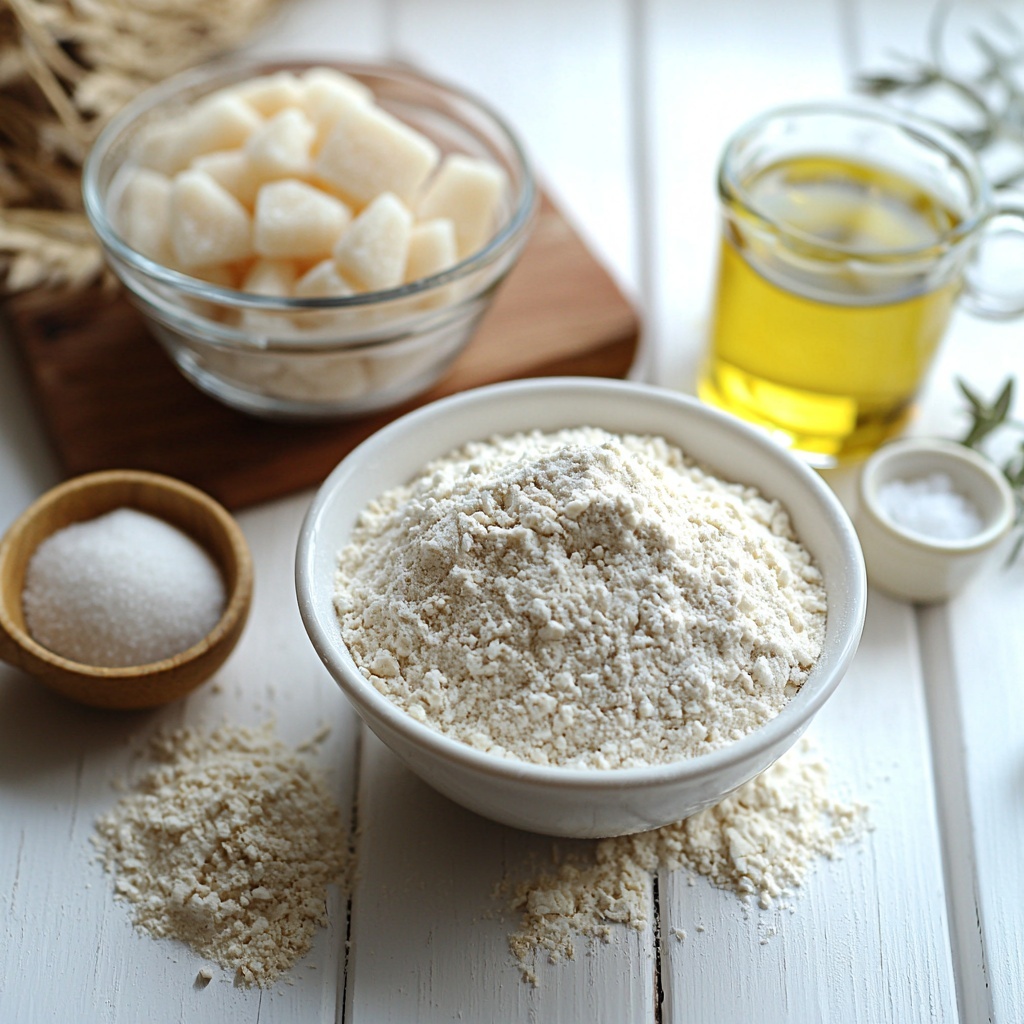
Ingredients You’ll Need
The beauty of this Homemade Bread Recipe lies in its straightforward ingredients—each one playing a crucial role in creating that perfect bread texture and flavor. From the yeast that breathes life into the dough to the sugar that feeds it, everything is simple yet essential.
- 3 1/2 cups all-purpose flour: The foundation of your bread, providing structure and chew.
- 1 packet (2 1/4 tsp) active dry yeast: This magical ingredient makes your dough rise and become light and fluffy.
- 1 1/4 cups warm water (110°F or 45°C): Activates the yeast and brings all ingredients together smoothly.
- 2 tablespoons sugar: Feeds the yeast and adds a delicate hint of sweetness to the loaf.
- 2 tablespoons vegetable oil or melted butter: Adds moisture and richness for tender crumb and a soft crust.
- 1 teaspoon salt: Balances flavors and strengthens the dough’s gluten network.
How to Make Homemade Bread Recipe
Step 1: Activate the Yeast
Start by dissolving the sugar in warm water in a large mixing bowl—this warm environment wakes up your yeast. Sprinkle the active dry yeast on top and let it rest for 5 to 10 minutes until it becomes frothy. This lively yeast mixture signals that it’s ready to work its magic on your dough.
Step 2: Combine Initial Ingredients
Add the vegetable oil or melted butter, salt, and 2 cups of flour to your frothy yeast mixture. Give it a good stir until everything is well combined, setting the stage for the dough to take form while ensuring the salt and fat distribute evenly.
Step 3: Bring in the Rest of the Flour
Gradually sprinkle in the remaining flour, about a half cup at a time. This slow incorporation helps create a soft dough that is not too sticky or dry, just right for kneading.
Step 4: Knead to Perfection
Turn your dough out onto a lightly floured surface and knead it for 8 to 10 minutes using the heel of your hands. Kneading builds gluten, which gives your bread that lovely chewy texture. You’ll know it’s ready when the dough is smooth, elastic, and slightly tacky but doesn’t stick to your fingers.
Step 5: Let It Rise
Place your dough in a greased bowl, cover it with a damp cloth, and tuck it into a warm spot to rise for about 1 hour. Patience here rewards you with dough that doubles in size as the yeast produces those beautiful air pockets.
Step 6: Shape and Proof
Punch the dough down gently to release excess gas, then shape it into a loaf. Place it into a greased 9×5-inch loaf pan, cover, and let it rise again for 30 to 40 minutes. This second rise ensures your bread will be fluffy and beautifully shaped.
Step 7: Bake Until Golden
Preheat your oven to 375°F (190°C). Bake the loaf for 25 to 30 minutes until the crust turns a rich golden brown and returns a hollow sound when you tap it. This is the final transformation where your efforts turn into a delicious reality.
Step 8: Cool Before Slicing
Remove your bread from the pan and let it cool on a wire rack before slicing. Cooling helps set the crumb so your slices hold their shape perfectly, ready to be enjoyed.
How to Serve Homemade Bread Recipe
Garnishes
Homemade bread is wonderfully versatile when it comes to garnishing. You might lightly brush the crust with melted butter and sprinkle herbs like rosemary or garlic salt for an aromatic twist. Alternatively, a sprinkle of seeds such as sesame or poppy adds enticing texture and appearance.
Side Dishes
This Homemade Bread Recipe pairs beautifully with a wide variety of sides. Serve it warm alongside hearty soups, vibrant salads, or your favorite cheeses. It’s simply perfect for encouraging dipping, spreading, and sopping up delicious sauces.
Creative Ways to Present
Impress your guests by presenting this bread sliced in thick rustic chunks or transformed into garlic bread or bruschetta. You can also cut the crust into fun shapes before baking or offer an assortment of flavored butters, jams, and olive oils for dipping to elevate your bread experience.
Make Ahead and Storage
Storing Leftovers
Store any leftover bread wrapped tightly in plastic wrap or kept in an airtight container at room temperature. Your homemade loaf will stay fresh and soft for 3 to 4 days, allowing you to enjoy its comforting flavors even after baking day.
Freezing
If you want to keep your bread longer, freezing is your friend. Slice the loaf, then wrap individual portions or the whole loaf tightly in plastic wrap and foil for best results. Frozen homemade bread maintains quality for up to 3 months and can be thawed gently at room temperature.
Reheating
To revive your bread’s fresh-baked taste, warm slices in a toaster or a preheated oven at 350°F (175°C) for about 10 minutes. This simple step brings back that delightful crust and soft interior, making each bite taste just out of the oven.
FAQs
Can I use whole wheat flour instead of all-purpose flour?
Absolutely! You can substitute some or all of the all-purpose flour with whole wheat flour, but keep in mind the bread might be denser and have a nuttier flavor. You may need a bit more water as whole wheat absorbs more moisture.
What if my yeast doesn’t foam after 10 minutes?
This usually means your yeast is inactive or the water was too hot or cold. It’s best to discard and start again with fresh yeast and ensure the water temperature is around 110°F (45°C) for optimal yeast activation.
Can I make this bread without kneading?
While kneading develops gluten for the ideal texture, some no-knead variations exist. This particular Homemade Bread Recipe relies on kneading to achieve that soft and elastic dough, so it’s recommended to follow the kneading step for best results.
How do I know when the bread is fully baked?
The bread is done when it turns a deep golden brown and sounds hollow when tapped on the bottom. You can also use a thermometer—fully baked bread registers around 190°F (88°C) internally.
Can I add herbs or other flavorings to this recipe?
Definitely! Feel free to mix in fresh herbs, garlic, cheese, or even olives into the dough during mixing. These additions make your Homemade Bread Recipe extra special and tailored to your taste preferences.
Final Thoughts
Baking this Homemade Bread Recipe is more than just making food; it’s about creating warmth and simple joy from the heart of your kitchen. I encourage you to give this recipe a whirl, enjoying every step from the bubbling yeast to the golden crust. Trust me, once you taste your own handmade loaf, you’ll never look at store-bought bread the same way again.
“`
Print
Homemade Bread Recipe
- Prep Time: 20 minutes
- Cook Time: 30 minutes
- Total Time: 2 hours
- Yield: 1 loaf (about 1 pound)
- Category: Bread
- Method: Baking
- Cuisine: American
Description
This Homemade Bread recipe yields a soft, golden loaf with a slightly sweet flavor and tender crumb. Made from simple pantry staples like flour, yeast, sugar, and oil, it’s an easy-to-follow recipe that delivers fresh, warm bread perfect for sandwiches, toast, or enjoying plain with butter. The dough is kneaded and allowed to rise twice, ensuring a light and airy texture with a crisp crust after baking.
Ingredients
Dry Ingredients
- 3 1/2 cups all-purpose flour
- 1 packet (2 1/4 tsp) active dry yeast
- 2 tablespoons sugar
- 1 teaspoon salt
Wet Ingredients
- 1 1/4 cups warm water (110°F or 45°C)
- 2 tablespoons vegetable oil or melted butter
Instructions
- Activate Yeast: Dissolve the sugar in warm water (110°F or 45°C) in a large mixing bowl. Sprinkle the active dry yeast on top and let it sit for 5-10 minutes until the mixture becomes frothy, indicating that the yeast is active.
- Combine Ingredients: Add the vegetable oil or melted butter, salt, and 2 cups of the all-purpose flour to the yeast mixture. Stir well to combine all ingredients into a smooth mixture.
- Add Remaining Flour: Gradually mix in the remaining flour, about 1/2 cup at a time, stirring continuously until a soft dough forms that pulls away from the sides of the bowl.
- Knead Dough: Turn the dough onto a floured surface and knead for 8-10 minutes until it is smooth, elastic, and slightly tacky but not sticky.
- First Rise: Place the kneaded dough into a greased bowl, turning once to coat. Cover the bowl with a damp cloth and let the dough rise in a warm place for approximately 1 hour, or until it has doubled in size.
- Shape Loaf: Punch down the risen dough to release air bubbles, then shape it into a loaf. Place it into a greased 9×5-inch loaf pan. Cover again and allow it to rise for another 30-40 minutes until puffed and nearly doubled.
- Preheat Oven and Bake: Preheat your oven to 375°F (190°C). Bake the loaf for 25-30 minutes until the crust turns golden brown and the loaf sounds hollow when tapped.
- Cool Bread: Remove the bread from the pan carefully and place it onto a wire rack to cool completely before slicing. This helps preserve the bread’s texture and prevents it from becoming gummy inside.
Notes
- Use warm water at about 110°F (45°C) to activate yeast without killing it.
- Ensure dough is kneaded well for good gluten development, which affects bread texture.
- Rising times may vary depending on room temperature; dough should double in size each rise.
- Optional: Brush the loaf with melted butter after baking for a softer crust and enhanced flavor.
- This bread is best enjoyed fresh within 2-3 days; store in an airtight container to maintain softness.


