“`html
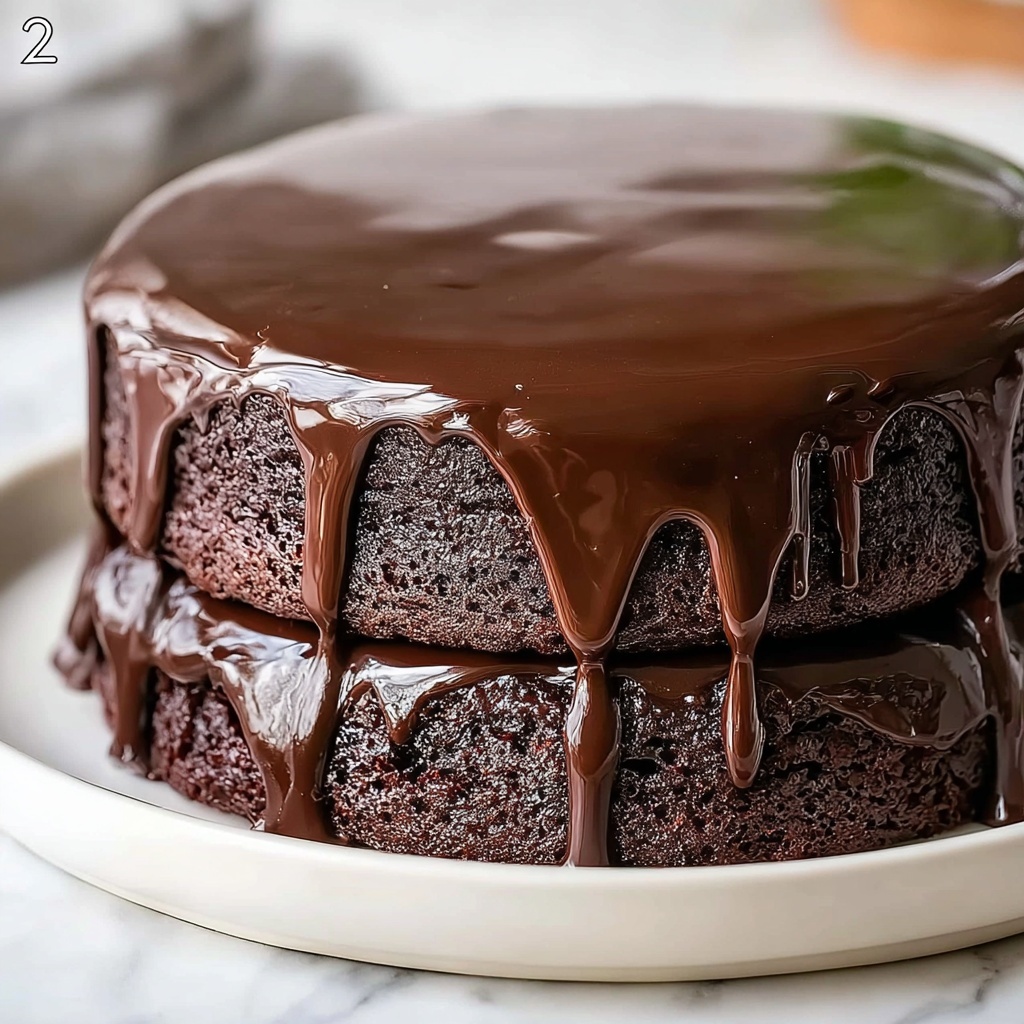
If you want to transform your cakes and cupcakes into stunning showstoppers, then this Chocolate Drip Recipe: An Incredible Ultimate Guide to 5 Variations Recipe is exactly what you need. From the silky smooth basic drip to decadent white chocolate and nutty hazelnut twists, this guide takes you step-by-step through easy yet elegant drip techniques that bring your desserts to life with glossy, luscious finishes. Whether you’re preparing for a casual gathering or a special celebration, mastering these five versatile chocolate drip variations will add a deliciously beautiful touch you and your guests will adore.
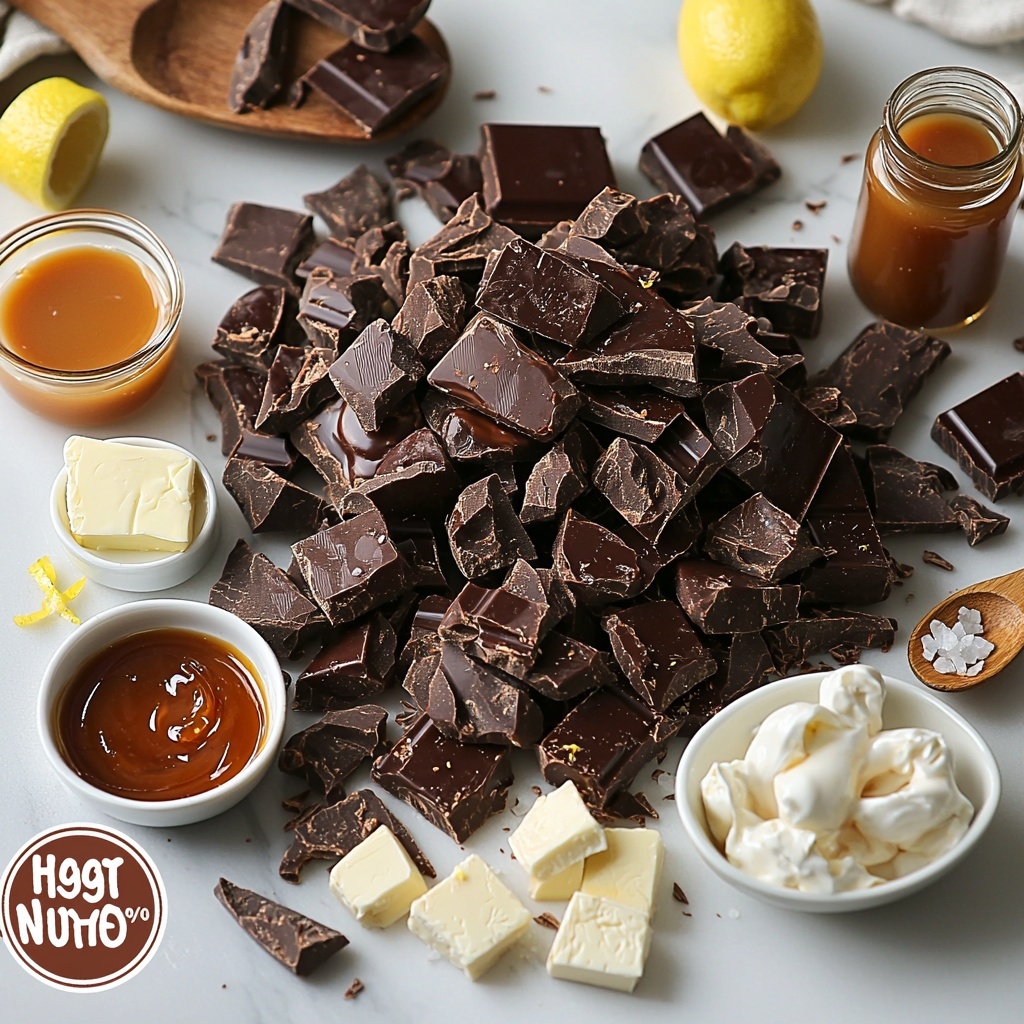
Ingredients You’ll Need
These ingredients are surprisingly simple but absolutely essential for creating that perfect balance of flavor, texture, and sheen in your chocolate drips. Each one plays a vital role, whether it’s achieving the ideal pour consistency or adding that irresistible glossy shine.
- High-quality chocolate (semi-sweet, milk, dark, or white): Your choice of chocolate sets the flavor tone and richness of your drip.
- Heavy cream: This adds smoothness and creaminess while helping the chocolate melt evenly.
- Unsalted butter: Optional, but fantastic for an extra glossy finish and silky texture.
- Vanilla extract, lemon zest, or corn syrup: Small additions that enhance flavor depth or shine in certain variations.
- Nutella: For a deliciously nutty chocolate-hazelnut option.
- Caramel sauce and sea salt: To create a luscious salted caramel drip with a perfect sweet-salty balance.
How to Make Chocolate Drip Recipe: An Incredible Ultimate Guide to 5 Variations Recipe
Step 1: Heat the Cream Gently
Begin by warming your heavy cream in a small saucepan over low heat until it just starts to steam. This gentle warming is crucial—too hot and it can scorch the cream or melt your chocolate unevenly later. Patience here sets the stage for a beautifully smooth drip.
Step 2: Combine Cream and Chocolate
Place your chopped chocolate into a heatproof bowl and pour the hot cream over it. Let it rest for a minute or two without stirring. This allows the chocolate to soften and begin melting perfectly, creating a luscious base for your drip.
Step 3: Stir Until Silky Smooth
Slowly stir the chocolate and cream together until fully melted and silky. If you want to elevate the shine and mouthfeel, gently fold in the unsalted butter now. This step is what gives your drip that irresistible gloss and smooth texture.
Step 4: Cool the Mixture Slightly
Allow the mixture to cool at room temperature for 5 to 10 minutes until it thickens just enough to be pourable but not too runny. This cooling stage is essential for preventing your drip from running off too quickly or melting the frosting underneath.
Step 5: Drip on Your Cake
Now comes the fun part! Using a spoon, squeeze bottle, or piping bag, carefully drizzle the chocolate along the edges of your cake, letting gravity create those gorgeous, natural drips down the sides. Finish by pouring the remaining drip on top and smoothing it out for a flawless finish.
Variations and Custom Tips
Once you master the basic method, feel free to experiment with these delicious variations:
- Milk Chocolate Drip: Swap in milk chocolate and add a teaspoon of vanilla extract for a sweet, creamy finish perfect for light cakes.
- White Chocolate Drip: Use white chocolate and stir in lemon zest for a bright, delicate complement to fruity or floral cakes.
- Dark Chocolate Drip: Choose 70% cocoa or higher dark chocolate with an optional tablespoon of light corn syrup for a deep, glossy drip.
- Nutella Drip: Melt Nutella with cream and butter for a marvelous hazelnut twist that pairs beautifully with chocolate or coffee flavors.
- Salted Caramel Drip: Warm caramel sauce with cream, drizzle on your dessert, then sprinkle sea salt for that crave-worthy sweet and salty combo.
How to Serve Chocolate Drip Recipe: An Incredible Ultimate Guide to 5 Variations Recipe
Garnishes
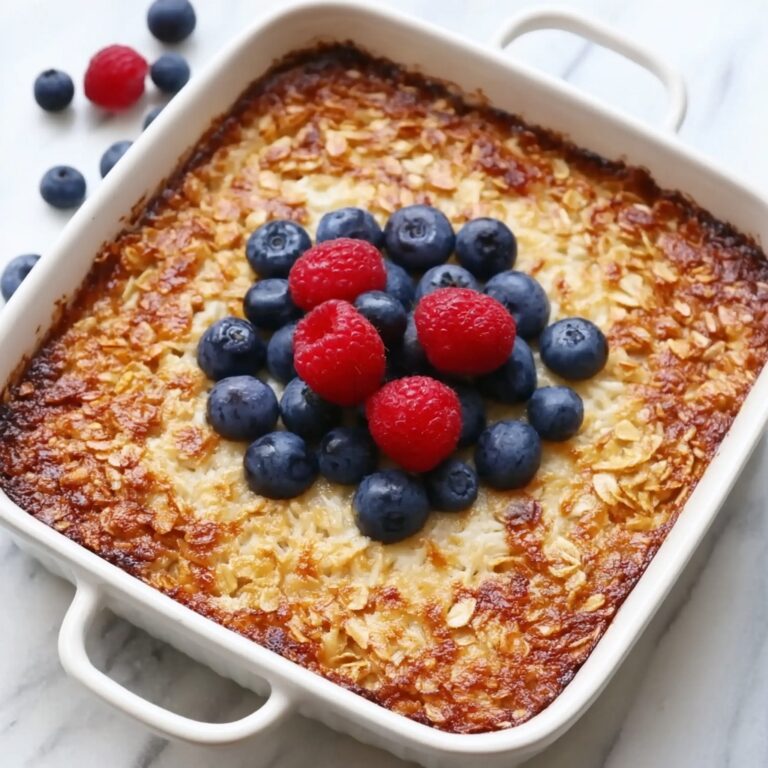
Garnishes are your secret weapon to elevate the visual appeal even further. Think fresh berries to brighten white chocolate drips, toasted nuts to complement Nutella drips, or a sprinkle of flaky sea salt on salted caramel drips. Each garnish brings an extra layer of texture and taste, enhancing both the look and the experience.
Side Dishes
Serve your dripped dessert alongside simple sides like whipped cream, fresh fruit, or even a scoop of vanilla ice cream to balance richness. For chocolate lovers, a light espresso or a glass of red wine pairs beautifully and turns your treat into an unforgettable indulgence.
Creative Ways to Present
Try using mini drip cakes as elegant individual servings or glaze cupcakes with your favorite drip variation for parties. You can also experiment with layering different colored drips to create a dramatic effect or use edible gold leaf accents for an extraordinarily luxurious finish. The possibilities are endless and always exciting!
Make Ahead and Storage
Storing Leftovers
To keep your chocolate drip looking shiny and fresh, store your dripped cakes or cupcakes in the refrigerator for up to 3-4 days. Keep them covered in a cake box or airtight container to prevent the drips from drying out or absorbing fridge odors. Before serving, bring them to room temperature for the best texture and flavor.
Freezing
You can freeze dripped cakes to preserve them longer, but keep in mind the texture of the drip may change slightly. Wrap your dessert tightly in plastic wrap and then foil, and freeze for up to one month. Thaw in the refrigerator overnight before allowing it to come to room temperature before serving.
Reheating
Chocolate drips generally don’t require reheating. If your drip looks a bit firm after refrigeration, simply leave your dessert at room temperature for 30 minutes before serving to soften the chocolate and enhance flavor. Avoid applying direct heat as it can cause streaking or melting.
FAQs
Can I use chocolate chips instead of baking chocolate for the drip?
Chocolate chips usually contain stabilizers that help maintain shape when baking, which can affect the smoothness of your drip. For the best results, use high-quality chopped baking chocolate or couverture chocolate for a glossy, silky texture.
How do I fix a drip that’s too runny?
If your drip runs too much, simply let it cool a bit longer to thicken or add a bit more melted chocolate to firm it up. Chill briefly if needed, but don’t overdo it or it will be too thick to drizzle nicely.
Is it necessary to use heavy cream?
Yes, heavy cream is essential because it provides the fat needed for a smooth, creamy texture and helps the chocolate melt properly. Using milk or lower-fat cream can result in a grainy or uneven drip.
Can I make the drip vegan or dairy-free?
Absolutely! Substitute heavy cream with full-fat coconut milk or a non-dairy creamer and use dairy-free chocolate to create a vegan-friendly drip. The method remains the same and still yields delicious results.
How long can I prepare the drip before decorating?
You can prepare your chocolate drip a few hours ahead of decorating. Just keep it covered at room temperature or gently warm it up again over a double boiler if it thickens too much before use.
Final Thoughts
There’s nothing quite like the joy of transforming a simple cake into an extraordinary dessert with a beautifully glossy drip. This Chocolate Drip Recipe: An Incredible Ultimate Guide to 5 Variations Recipe opens up so many delicious possibilities — from classic dark chocolate to inventive hazelnut and salted caramel options. So grab your favorite chocolate, warm that cream, and get ready to impress yourself and everyone else with unforgettable drips that taste as amazing as they look. Happy dripping!
“`
Print
Chocolate Drip Recipe: An Incredible Ultimate Guide to 5 Variations Recipe
- Prep Time: 5 minutes
- Cook Time: 5 minutes
- Total Time: 10 minutes
- Yield: 1 cup of drip (enough for 2-3 cakes depending on size)
- Category: Dessert
- Method: Stovetop
- Cuisine: American
- Diet: Vegetarian
Description
Elevate your cakes and desserts with this ultimate guide to 5 incredible chocolate drip variations. From classic dark chocolate to creamy Nutella and salted caramel drips, learn how to create glossy, flavorful drips that add elegance and indulgence to any sweet treat.
Ingredients
Basic Chocolate Drip
- 4 ounces high-quality semi-sweet or dark chocolate, chopped
- 1/4 cup heavy cream
- 1 tablespoon unsalted butter (optional for extra shine)
Milk Chocolate Drip
- 4 ounces milk chocolate, chopped
- 1/4 cup heavy cream
- 1 teaspoon vanilla extract (optional)
White Chocolate Drip
- 4 ounces white chocolate, chopped
- 1/4 cup heavy cream
- 1 teaspoon lemon zest (optional)
Dark Chocolate Drip (Intense)
- 4 ounces dark chocolate (70% or higher), chopped
- 1/4 cup heavy cream
- 1 tablespoon light corn syrup (optional for extra shine)
Nutella Drip (Hazelnut Chocolate Drip)
- 1/2 cup Nutella
- 1/4 cup heavy cream
- 1 tablespoon unsalted butter (optional for extra gloss)
Salted Caramel Drip
- 1/2 cup caramel sauce (store-bought or homemade)
- 2 tablespoons heavy cream
- 1/2 teaspoon sea salt (for garnish)
Instructions
- Heat the Cream: In a small saucepan over low heat, gently heat the heavy cream (or caramel sauce with cream for caramel drip) until it just starts to steam without boiling.
- Add Chocolate or Nutella: Place the chopped chocolate in a heatproof bowl (or Nutella directly in saucepan). Pour the hot cream over the chocolate and let it sit 1-2 minutes to melt.
- Stir Until Smooth: Gently stir the mixture until fully melted and smooth. Add optional ingredients like butter, vanilla extract, lemon zest, or corn syrup as specified to enhance shine and flavor.
- Cool Slightly: Allow the drip to cool for 5-10 minutes until it thickens slightly but remains pourable, around room temperature to prevent melting your cake or frosting.
- Drip on Cake: Use a spoon, squeeze bottle, or piping bag to drizzle the chocolate or caramel around the edges of your cake, letting gravity create natural drips. Pour over the top and smooth out.
- Garnish (for Salted Caramel Drip): Sprinkle sea salt on the caramel drip immediately after application for a balanced sweet-salty finish.
Notes
- Ensure the drip mixture is not too hot to avoid melting the cake frosting.
- Adjust consistency by adding cream if too thick or cooling longer if too thin.
- Use piping bags or squeeze bottles for more control over drip size and placement.
- Store cakes with cream-based drips refrigerated and bring to room temperature before serving for best texture.
- Choose the chocolate type based on the flavor profile you want to complement your cake.


