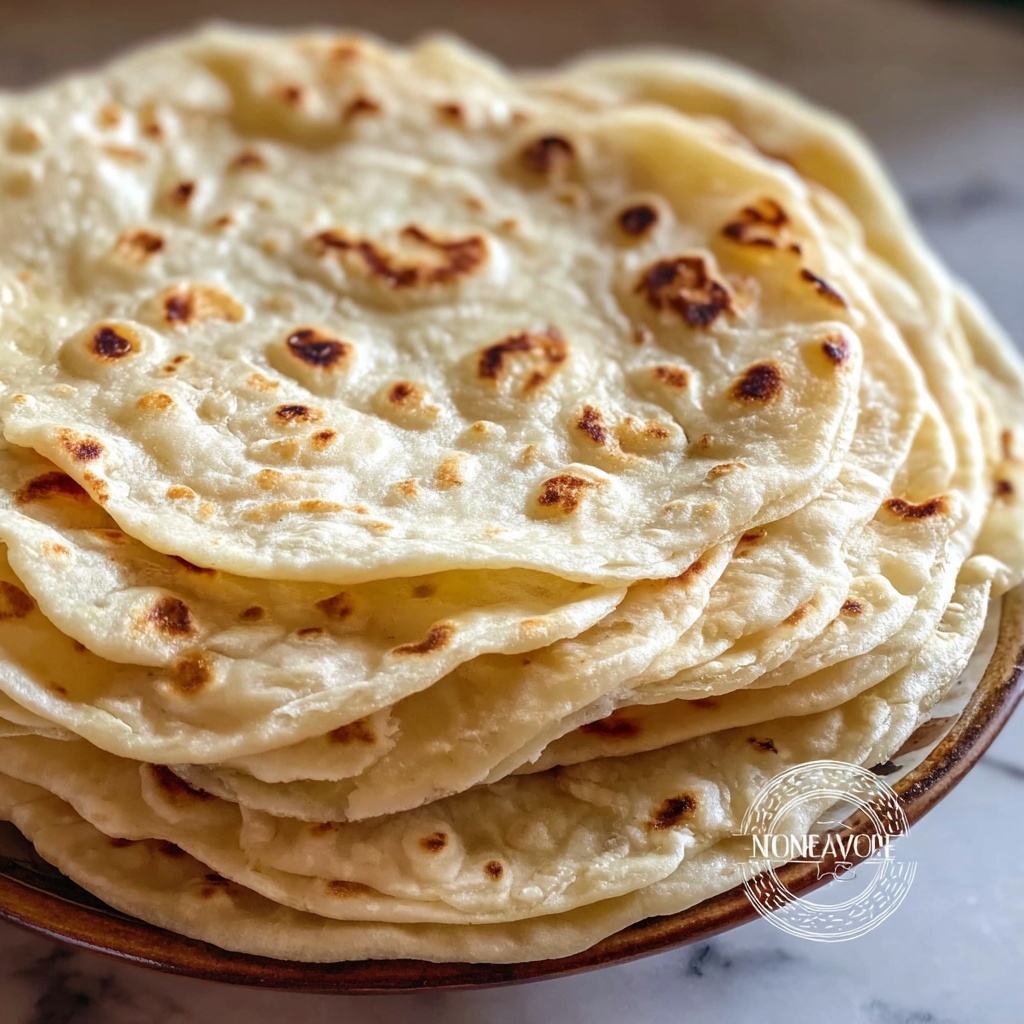
If you have ever dreamed of biting into warm, soft tortillas fresh off the skillet, you are in for a treat because this Homemade Flour Tortillas That Are Soft, Fluffy, and Easy Recipe will become your new kitchen favorite. Lightly pillowy with just the right amount of fluffiness, these tortillas bring a mouthwatering freshness that store-bought versions simply cannot match. Whether you’re wrapping up hearty fillings or using them as the base for tacos and wraps, these tortillas are guaranteed to impress with their tender texture and subtle flavor. Plus, they are surprisingly simple to make, turning a few basic ingredients into culinary magic.
Ingredients You’ll Need
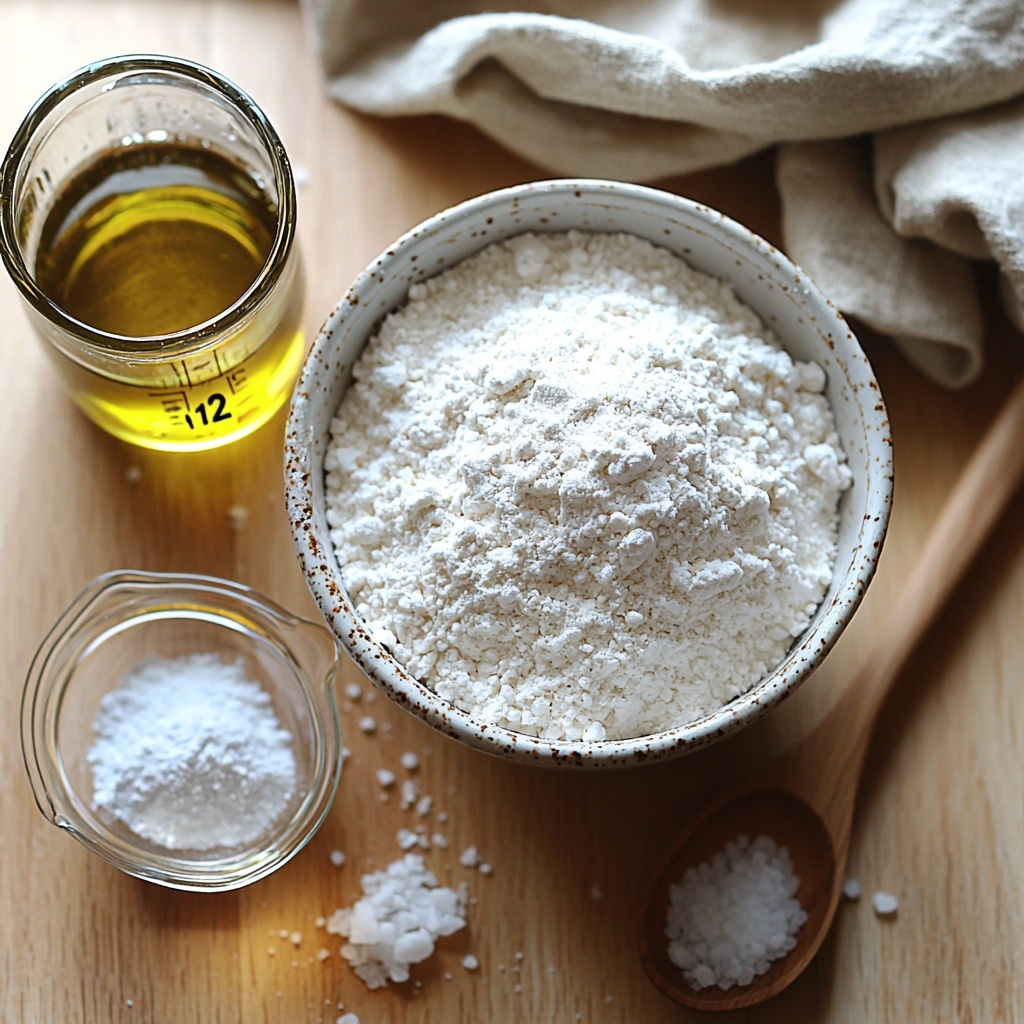
The beauty of this Homemade Flour Tortillas That Are Soft, Fluffy, and Easy Recipe lies in its simplicity, using ingredients that are staples in almost every pantry. Each component plays a crucial role in building the perfect balance of softness, flavor, and pliability that you want in a tortilla.
- 2 cups all-purpose flour: The foundation of your tortillas, providing structure; whole wheat flour works great for a nuttier taste.
- 1 teaspoon baking powder: This little ingredient is key for creating that lovely fluffiness and light lift in the dough.
- 1/2 teaspoon salt: Enhances the overall flavor, balancing the richness of the dough perfectly.
- 1 tablespoon olive oil: Adds moisture and tenderness, making your tortillas soft and flexible without being greasy.
- 3/4 cup warm water: Hydrates the dough to just the right consistency, helping it become smooth and easy to work with.
How to Make Homemade Flour Tortillas That Are Soft, Fluffy, and Easy Recipe
Step 1: Combine Dry Ingredients
Start by whisking together the flour, baking powder, and salt in a large mixing bowl. This ensures the leavening agent and seasoning are evenly distributed throughout your dough, setting the stage for consistency and flavor from the very beginning.
Step 2: Add Wet Ingredients
Create a well in the center of your dry mix, then pour in the olive oil and warm water. Slowly incorporate the liquids into the flour, stirring gently until a rough shaggy dough starts to form. This technique helps to avoid lumps and ensures every bit of flour gets hydrated.
Step 3: Knead to Perfection
Turn the dough out onto a lightly floured surface and knead vigorously for about five minutes until the texture transforms into a smooth, elastic ball. This kneading process develops gluten, giving your tortillas the perfect chewiness they’re known for.
Step 4: Rest the Dough
Cut your dough into 8 to 10 equal pieces and roll each into a smooth ball. Cover them with a clean kitchen towel and let them rest for anywhere from 30 minutes up to two hours. This resting allows the dough to relax and makes rolling out easier, contributing to that soft, fluffy texture we love.
Step 5: Roll Out the Tortillas
On a floured surface, roll each dough ball into a thin circle—between 8 to 10 inches for larger tortillas or 6 to 8 inches if you prefer smaller ones. Aim for an even thickness so they cook uniformly without thin spots tearing.
Step 6: Cook the Tortillas
Heat a dry skillet over medium-high heat and place each tortilla on the skillet. Cook for about 30 to 45 seconds until you notice bubbles appearing on the surface, then flip to cook the other side until lovely light brown spots form. This process locks in moisture and creates that signature tortilla flavor and appearance.
Step 7: Keep Warm and Serve
Once cooked, stack the tortillas and cover them with a kitchen towel or keep them in a tortilla warmer to maintain softness and heat until ready to serve. Freshly cooked tortillas are best enjoyed immediately, but the magic holds if stored properly.
How to Serve Homemade Flour Tortillas That Are Soft, Fluffy, and Easy Recipe
Garnishes
Adding simple garnishes to your tortillas can elevate them from everyday to extraordinary. Freshly chopped cilantro, a drizzle of tangy salsa, or a sprinkle of grated cheese bring brightness and layers of flavor that complement the tortillas’ warmth and softness beautifully.
Side Dishes
Serve these tortillas alongside classic dishes like black beans, savory grilled meats, or vibrant guacamole. The soft texture pairs perfectly with the variety of tastes and textures typically found in your favorite Mexican or Tex-Mex meals, making every bite a delight.
Creative Ways to Present
Try using these tortillas as a base for mini pizzas, wrapping up breakfast burritos filled with eggs and veggies, or rolling them tightly with a sweet nut butter and fruit jam for an unexpected twist. Their soft and fluffy nature makes these tortillas insanely versatile in the kitchen.
Make Ahead and Storage
Storing Leftovers
If you happen to have leftovers, wrap your tortillas tightly in plastic wrap or foil and store them in an airtight container at room temperature for up to two days. This helps preserve their moisture and softness while protecting them from drying out.
Freezing
For longer storage, stack tortillas separated by parchment paper and place them in a freezer-safe bag. Frozen tortillas keep well for up to three months and are a fantastic option for meal prepping or quick snacks.
Reheating
To reheat, simply warm tortillas one at a time in a hot, dry skillet for about 20 seconds on each side or wrap a few in a damp paper towel and microwave for 15-30 seconds. This refreshing method brings back the soft, fluffy texture you made them for.
FAQs
Can I substitute whole wheat flour in this recipe?
Absolutely! Using whole wheat flour instead of all-purpose will give your tortillas a nuttier flavor and denser texture. You might need slightly more water as whole wheat flour absorbs more liquid.
Why is baking powder important in this recipe?
Baking powder adds a bit of lift to the dough, creating air pockets that make the tortillas soft and fluffy rather than flat and chewy. It’s the secret behind the pillowy feel you want.
How long do these tortillas stay fresh?
When stored correctly at room temperature, they stay soft and fresh for up to two days. Beyond that, refrigeration or freezing is best to maintain quality.
Can I make the dough ahead of time?
Yes! You can prepare the dough and refrigerate it for up to 24 hours before rolling out and cooking. Just bring it close to room temperature before shaping to make handling easier.
What if my tortillas are tearing when rolling?
Usually, tearing means the dough needs more rest to relax gluten or it lacks moisture. Try covering it longer during the resting phase or adding a teaspoon of water during kneading if it’s too dry.
Final Thoughts
There is something truly special about homemade tortillas that you simply cannot get from a store package. This Homemade Flour Tortillas That Are Soft, Fluffy, and Easy Recipe is not only easy to master but also endlessly rewarding with its fluffy texture and fresh flavor. So grab your apron and give it a go—you’ll be amazed at how quickly these little rounds become the heart of your meals and the star of your kitchen.
Print
Homemade Flour Tortillas That Are Soft, Fluffy, and Easy Recipe
- Prep Time: 15 minutes
- Cook Time: 15 minutes
- Total Time: 1 hour
- Yield: 8 servings (8-10 tortillas)
- Category: Baking
- Method: Stovetop
- Cuisine: Mexican
- Diet: Vegetarian
Description
These homemade flour tortillas are soft, fluffy, and easy to make with just a few simple ingredients. Perfect for wraps, tacos, or burritos, this recipe uses baking powder to create a light and tender texture. With a minimal prep time and straightforward steps, you can enjoy fresh tortillas anytime right from your stovetop.
Ingredients
Dry Ingredients
- 2 cups all-purpose flour (can substitute with whole wheat flour)
- 1 teaspoon baking powder (essential for leavening)
- 1/2 teaspoon salt (recommended for flavor)
Wet Ingredients
- 1 tablespoon olive oil (can substitute with vegetable oil or melted butter)
- 3/4 cup warm water (crucial for hydrating the dough)
Instructions
- Combine Dry Ingredients: In a large mixing bowl, whisk together 2 cups of all-purpose flour, 1 teaspoon of baking powder, and 1/2 teaspoon of salt to evenly distribute the leavening and seasoning throughout the flour.
- Add Wet Ingredients: Make a well in the center of the dry mixture and pour in 1 tablespoon of olive oil along with approximately 3/4 cup of warm water. Stir until the ingredients begin to form a rough dough.
- Knead the Dough: Transfer the dough onto a lightly floured surface and knead for about 5 minutes until it becomes smooth, elastic, and no longer sticky. Proper kneading develops gluten for a tender tortilla.
- Divide and Rest: Divide the dough into 8-10 equal portions and roll each into a ball. Cover with a kitchen towel or plastic wrap and let them rest for 30 minutes up to 2 hours, allowing the gluten to relax for easier rolling.
- Roll Out Tortillas: Using a rolling pin, flatten each dough ball into a circle roughly 8-10 inches in diameter for larger tortillas or 6-8 inches for smaller, depending on your intended use.
- Cook on Skillet: Preheat a dry skillet over medium-high heat. Place a rolled tortilla onto the skillet and cook for 30-45 seconds until bubbles begin to form. Flip and cook the other side until light brown spots appear and the tortilla is cooked through.
- Keep Warm and Serve: Transfer the cooked tortillas to a tortilla warmer or wrap them in a clean kitchen towel to keep warm and soft until serving.
Notes
- Substitute all-purpose flour with whole wheat for a nuttier flavor and added fiber.
- Resting the dough is crucial for soft tortillas; do not skip this step.
- Use a dry skillet or non-stick pan for best results; avoid adding oil during cooking.
- Keep cooked tortillas covered to maintain softness and prevent drying out.
- These tortillas are best served fresh but can be stored in an airtight container for up to 2 days or frozen for longer storage.


