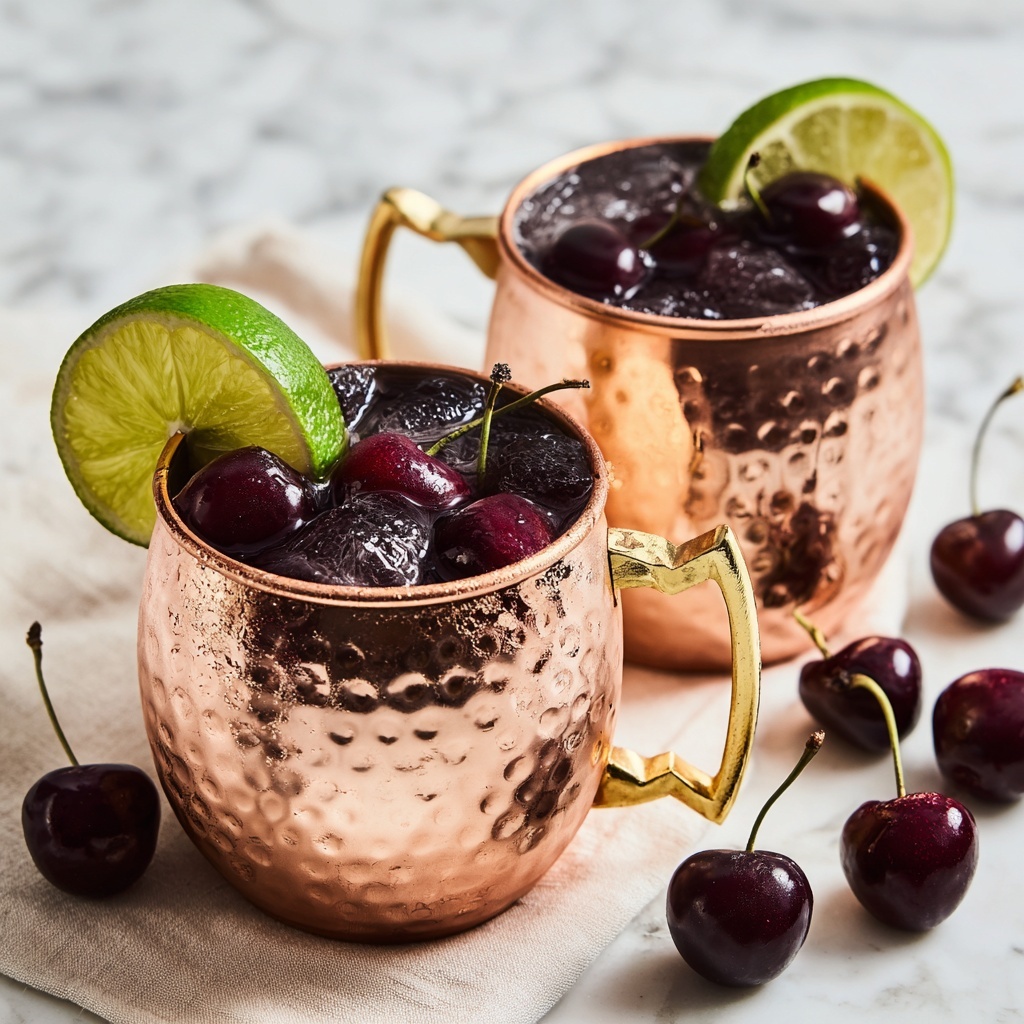
If you’re on the hunt for a refreshingly vibrant and effortlessly delicious cocktail to brighten up any occasion, then you absolutely must try the Cherry Mule Recipe. This delightful twist on the traditional mule combines the zing of fresh lime and spicy ginger beer with the lush, sweet burst of cherry juice, crafting a perfectly balanced summer sipper that’s as gorgeous as it is tasty. Whether you’re lounging on the patio, hosting friends, or just treating yourself, this cocktail is sure to become a fast favorite — it’s simple, quick, and unbelievably satisfying.
Ingredients You’ll Need
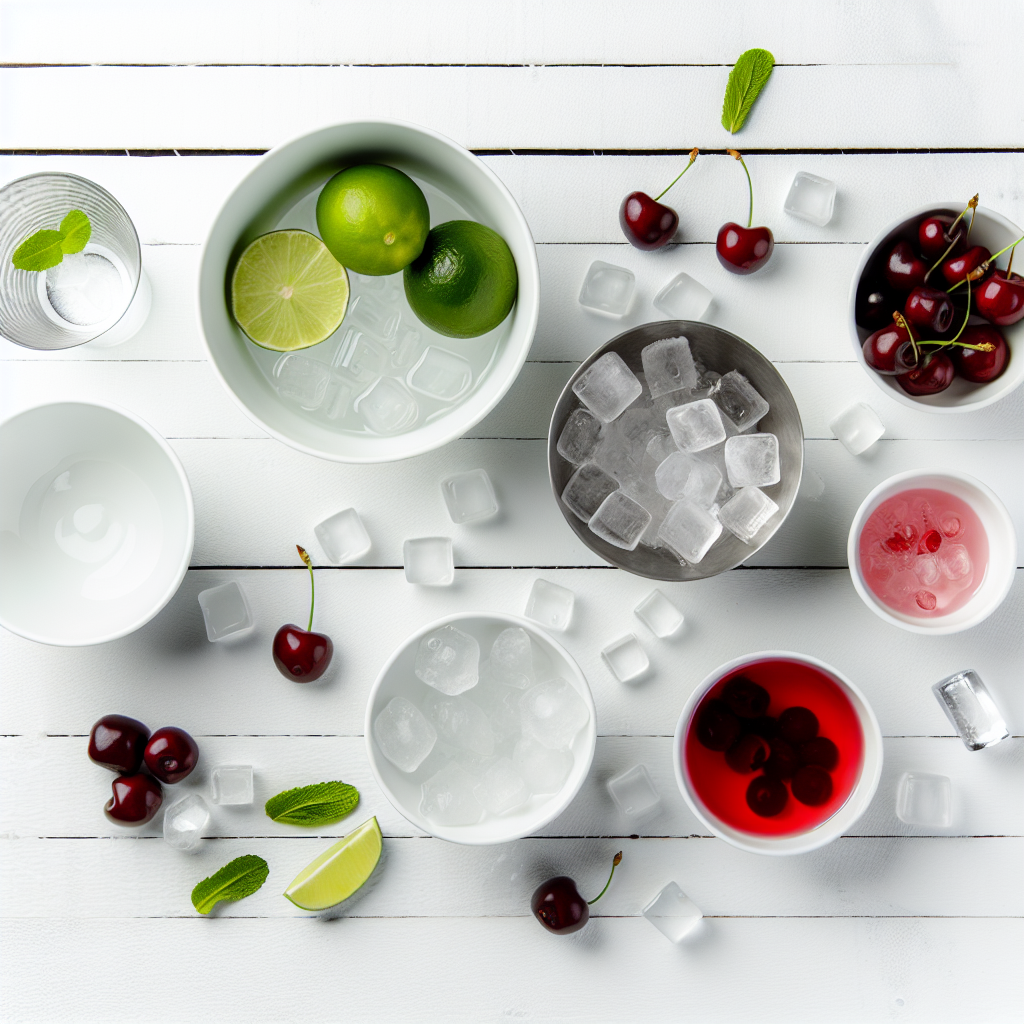
Every ingredient in the Cherry Mule Recipe plays a starring role, from the crisp kick of vodka to the rich, colorful splash of cherry juice. These straightforward ingredients come together beautifully, ensuring your cocktail has just the right balance of sweetness, tartness, and fizz.
- 2 ounces vodka: The clean, smooth base that lets the cherry and ginger flavors shine.
- 1 ounce cherry juice (or cherry syrup): Adds vibrant color and a luscious fruity punch, choose tart juice for brightness or syrup for sweetness.
- 1/2 ounce fresh lime juice: Brings a zesty tang that lifts the entire drink and keeps it lively.
- 4–6 ounces ginger beer: For that signature spicy fizz that makes a mule a mule, adjust amount to taste.
- Ice: Essential for keeping your drink icy cold and refreshing.
- Fresh cherries and lime wedges for garnish: They add a beautiful, inviting touch and a hint of extra flavor.
- Mint leaves (optional): For a fresh herbal aroma and elegant look.
How to Make Cherry Mule Recipe
Step 1: Prepare Your Glass
Start by filling a copper mule mug or any preferred glass generously with ice. The cool, frosty vessel keeps your cocktail refreshingly chilled as you mix and sip.
Step 2: Add the Spirit and Juices
Pour in 2 ounces of vodka, followed by 1 ounce of cherry juice or syrup. Next, squeeze in 1/2 ounce of fresh lime juice. Give everything a gentle stir so the flavors meld beautifully without flattening the ginger beer fizz later.
Step 3: Top with Ginger Beer
Slowly add 4 to 6 ounces of ginger beer, depending on how fizzy and light you like your drink. Stir carefully once more to blend the spicy sparkle with the rich cherry and bright citrus notes.
Step 4: Garnish and Serve
Pop a couple of fresh cherries and a lime wedge on the rim, and if you’re feeling fancy, tuck in a sprig of mint. Serve immediately and enjoy the burst of flavors!
How to Serve Cherry Mule Recipe
Garnishes
Presentation counts, and adding fresh cherries and lime wedges is an easy way to elevate your Cherry Mule Recipe. The bright color contrast is stunning, and the lime wedge can also be squeezed for an extra tart punch. Mint leaves introduce a lovely fresh aroma that will make every sip feel special.
Side Dishes
This cocktail pairs wonderfully with light, fresh appetizers that complement its zesty and fruity notes. Think grilled shrimp skewers, crispy chips with guacamole, or a vibrant fresh salad. These dishes keep the vibe casual and tasty, mirroring the drink’s playful yet sophisticated profile.
Creative Ways to Present
For a party or special occasion, try serving your Cherry Mule Recipe in a lineup of copper mugs with colorful striped straws or garnish with a skewer of assorted fresh fruits like cherries, lime slices, and even a few berries. For an extra twist, muddle a few pitted cherries at the bottom of the glass before adding ice to boost that rich cherry flavor.
Make Ahead and Storage
Storing Leftovers
If you happen to have any Cherry Mule Recipe left over, store it in an airtight container in the refrigerator for up to 24 hours. Keep in mind the ginger beer will lose some carbonation over time, so it’s best enjoyed fresh.
Freezing
Due to the carbonation and fresh ingredients, freezing this cocktail isn’t recommended. The texture and flavors may become dull once thawed, especially the ginger beer’s fizz.
Reheating
This cocktail is meant to be enjoyed cold and fresh, so reheating isn’t a good option. Instead, prepare new servings as you go to retain all those bright, invigorating flavors.
FAQs
Can I use other types of alcohol if I don’t have vodka?
Absolutely! While vodka is classic for a mule due to its neutral flavor, you can experiment with gin, tequila, or rum for unique variations, but keep in mind the taste will change accordingly.
What’s the difference between cherry juice and cherry syrup?
Cherry juice is typically tart and natural, offering brightness, while cherry syrup is sweeter and thicker, giving your drink a dessert-like richness. Choose based on your sweetness preference.
Is ginger beer alcoholic?
Most ginger beers used in cocktails are non-alcoholic and provide spicy carbonation to mimic ginger ale but with more kick. Always check the label to be sure.
Can I make the Cherry Mule Recipe sugar-free?
Yes, use a sugar-free cherry juice or syrup and select a ginger beer brand with no added sugars to keep your cocktail lighter while maintaining great taste.
How do I make the cocktail more cherry-forward?
Muddle a few pitted fresh cherries in your glass before adding ice and the other ingredients. This releases bold cherry flavor and adds a fresh texture to your drink.
Final Thoughts
There really is nothing quite like the Cherry Mule Recipe to lift your spirits and tantalize your taste buds. Its lively combination of sweet cherries, crisp lime, and spicy ginger beer is the perfect way to sip your way through warm days and festive nights. Go ahead, whip one up, and watch it become your go-to cocktail for every celebration and relaxed evening alike.
Print
Cherry Mule Recipe
- Prep Time: 15 minutes
- Cook Time: 6 hours
- Total Time: 6 hours 15 minutes
- Yield: 6 servings
- Category: Main Course
- Method: Slow Cooking
- Cuisine: American
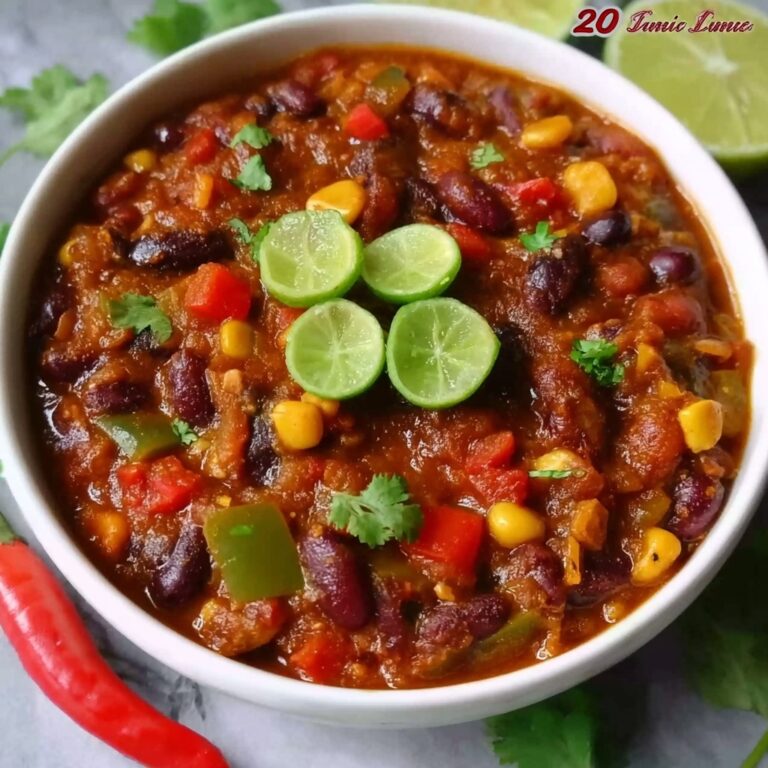
Description
A hearty and flavorful slow cooker chili packed with ground beef, two types of beans, tomatoes, and a robust blend of spices. This easy-to-make recipe delivers tender, savory chili that’s perfect for cozy dinners and entertaining. The low and slow cooking method melds the flavors beautifully, resulting in a rich and satisfying meal.
Ingredients
Main Ingredients
- 2 lbs ground beef
- 1 onion, diced
- 4 cloves garlic, minced
- 28 oz can diced tomatoes
- 3 cups beef broth (more as needed)
- 3 tablespoons tomato paste
- 1 tablespoon Worcestershire sauce
- 2 15 oz cans dark red kidney beans, rinsed and drained
- 2 15 oz cans cannellini beans, rinsed and drained
Spices and Seasonings
- 2 tablespoons chili powder
- 1 tablespoon ground cumin
- 1 teaspoon smoked paprika
- 1 teaspoon dried oregano
- ½ teaspoon garlic powder
- ¼ teaspoon cayenne pepper
- Salt and pepper, to taste
- 2 bay leaves
Instructions
- Brown the Meat and Aromatics: In a skillet over medium heat, sauté the ground beef together with diced onion and minced garlic until the beef is fully browned and the onions are golden and fragrant. Break up the meat as it cooks for even browning. Transfer the cooked mixture directly into the slow cooker.
- Add the Base Ingredients and Spices: Pour in the diced tomatoes, beef broth, tomato paste, and Worcestershire sauce. Sprinkle in the chili powder, ground cumin, smoked paprika, dried oregano, garlic powder, cayenne pepper, salt, and pepper. Toss in the bay leaves for added depth of flavor.
- Slow Cook the Chili: Cover the slow cooker with the lid and cook on LOW for 6 to 8 hours, or on HIGH for 3 to 4 hours. This slow cooking process allows the flavors to meld and the beef to become tender.
- Add Beans and Heat Through: About one hour before the cooking time is complete, stir in the rinsed and drained red kidney beans and cannellini beans. Allow the chili to continue cooking so the beans warm through without becoming mushy.
- Serve and Garnish: Once cooked, ladle the chili into bowls. Top with your favorite garnishes such as shredded cheese, sour cream, fresh cilantro, hot sauce, or sliced jalapeños to taste.
Notes
- For a thicker chili, reduce the amount of beef broth or cook uncovered during the last hour.
- To increase the heat, add extra cayenne pepper or diced jalapeños along with the spices.
- Leftover chili tastes even better the next day as flavors continue to develop.
- This chili freezes well — store in airtight containers for up to 3 months.
